
Top Tips: Autumn Landscapes
What to Shoot
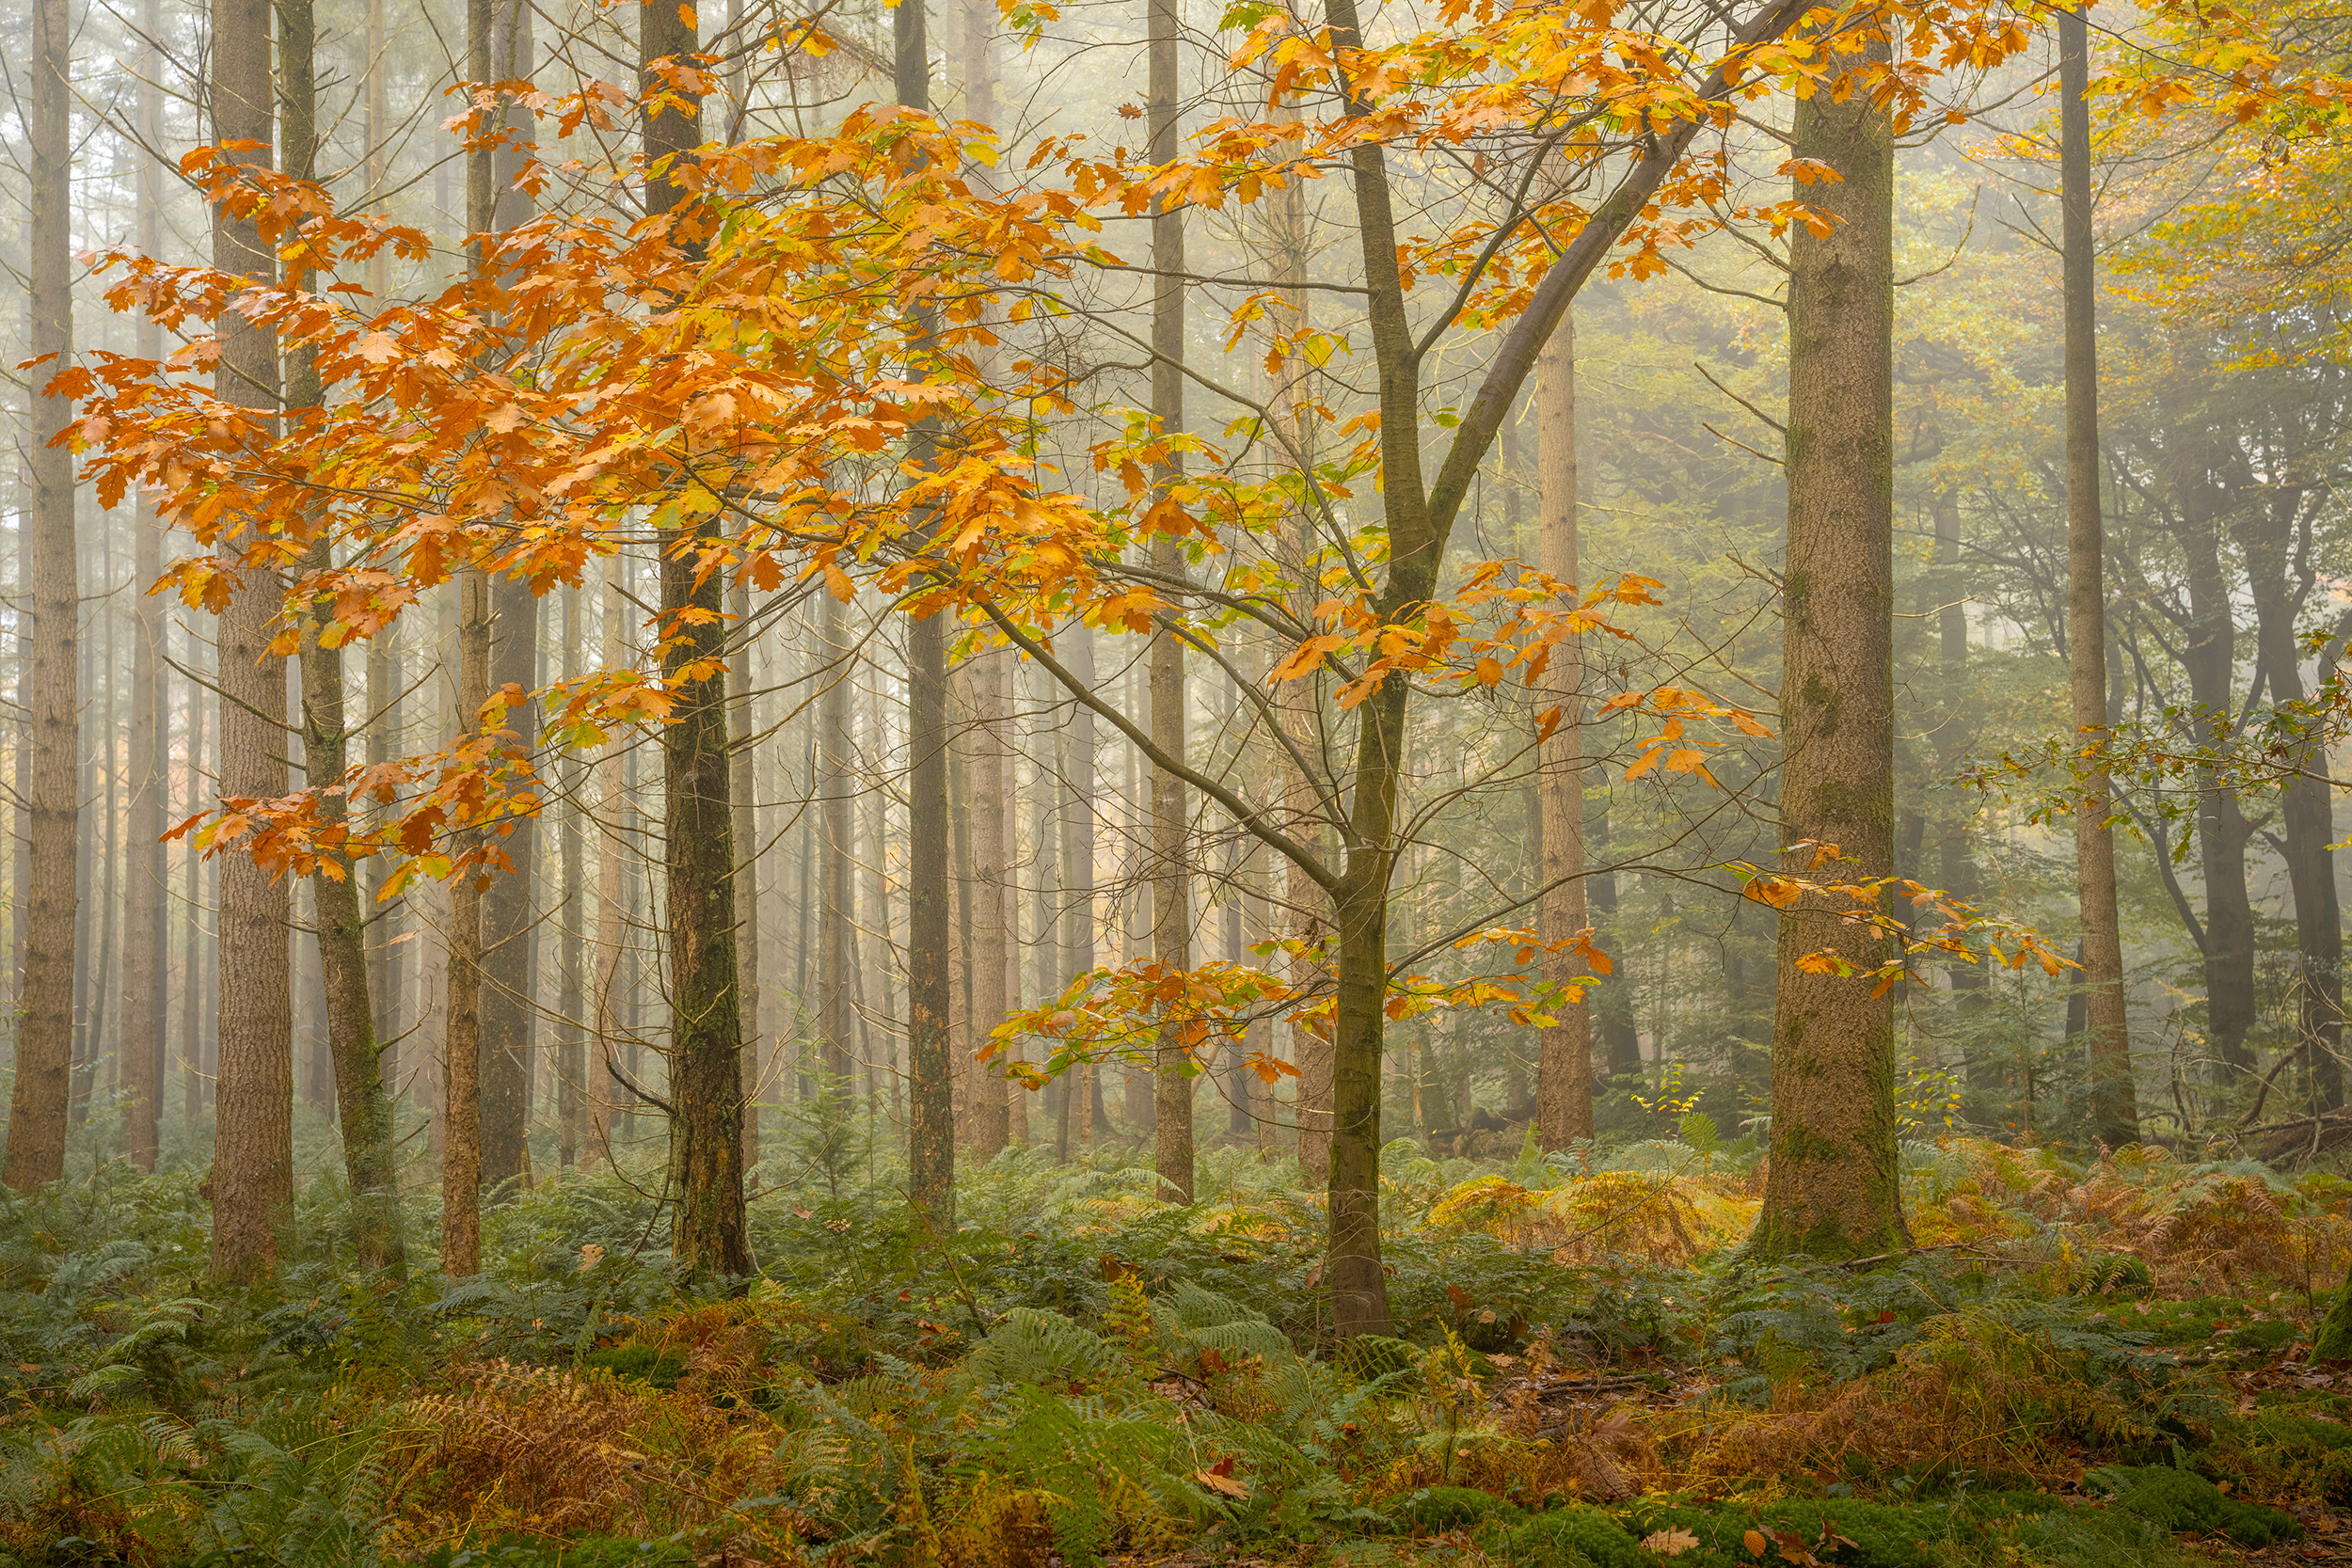
Autumn is a fantastic season for landscape photographers, with rich, vivid colours, later sunrises, and earlier sunsets, as well as fog and mist often making an appearance. It is a great time to get out with your camera. With later sunrises, it's easier to capture that Golden Hour light just after sunrise or before sunset. Make the most of this time to add dramatic long shadows and rich golden colour that will further enhance the natural colours in the landscape.
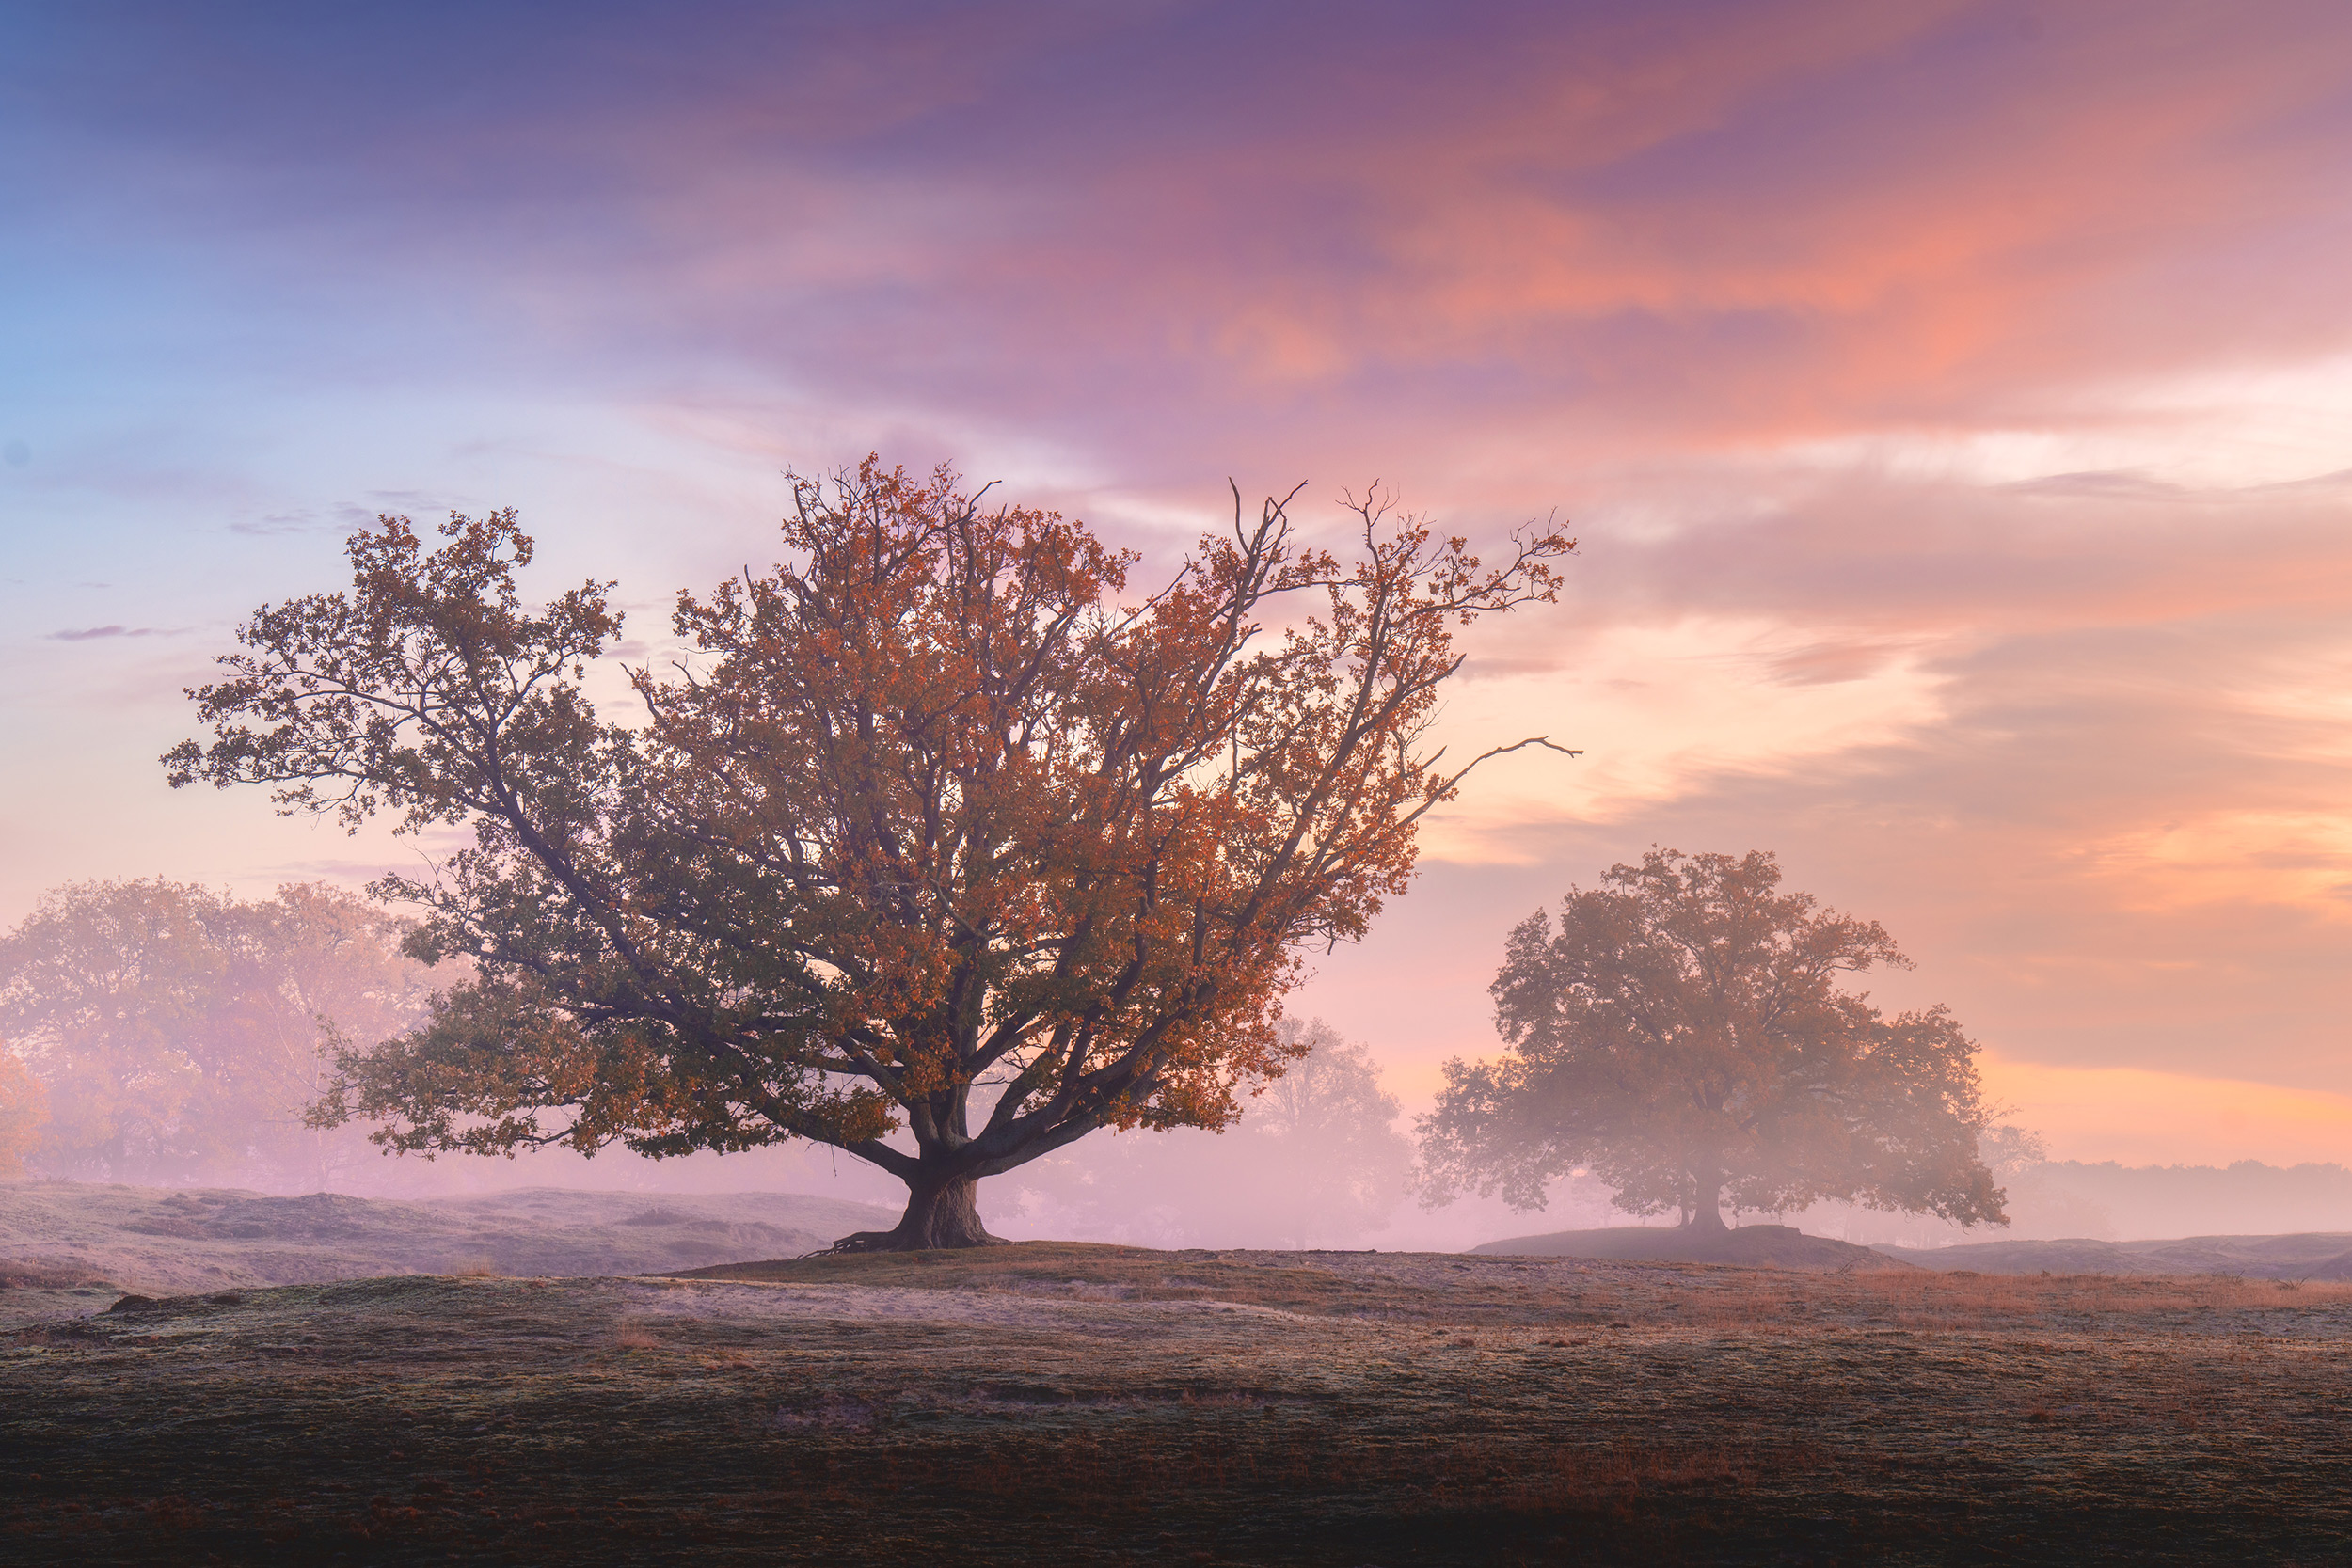 © Albert Dros
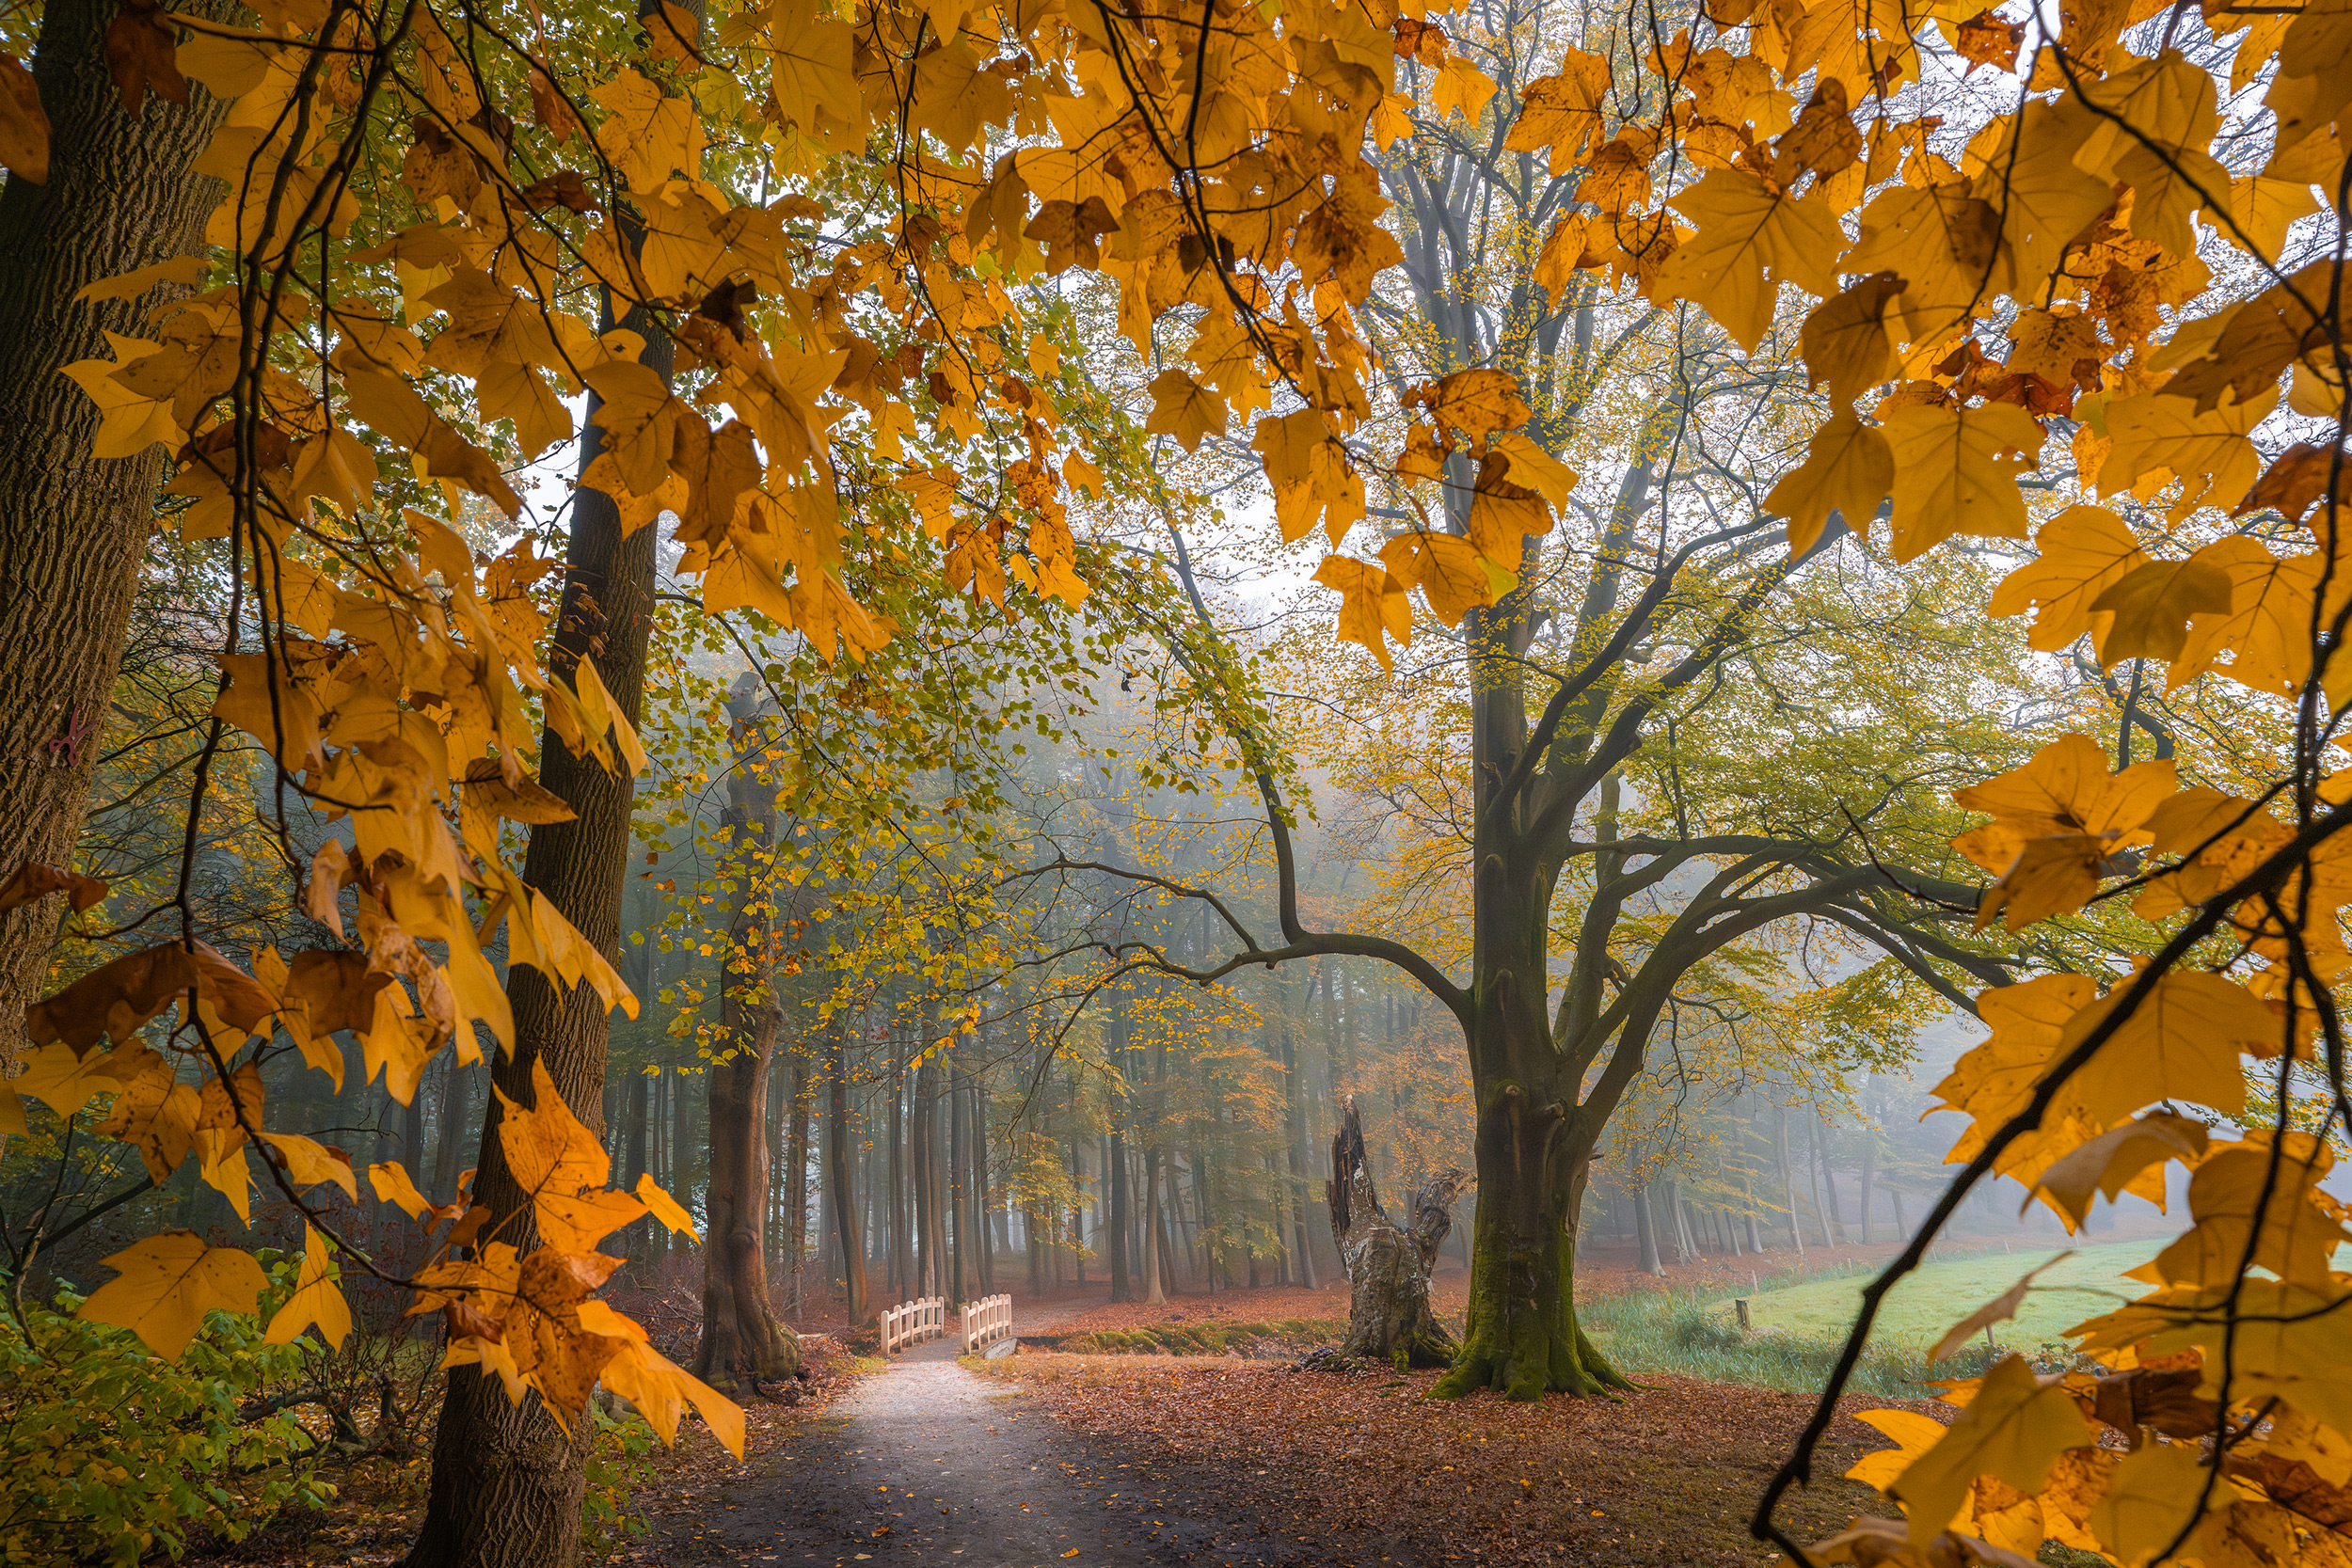
Autumn Colour
The colours of the season are obviously the highlight for photographers, and your Sony camera can help you to make the best of them. For an eye-catching image straight out of your Sony camera, set your Creative Style to VV (Vivid) or VV2 (Vivid 2). However, whilst these may look good for social media, the already vivid colour can become too saturated and lose detail if you push the colours too much.
Instead, shoot in ST (Standard) or even the NT (Natural) setting and select an appropriate white balance for the subject matter. Using Auto WB will cool the colours, as the camera detects a lot of warmth in leaves and tries to neutralise it. Instead, set your camera to Shade or Cloudy white balance to warm the image, especially in shaded areas or on cloudy days. Alternatively, ensure you are shooting in RAW (Shooting - Image Quality Settings) and adjust the white balance when editing to achieve the exact colour tone and saturation you want.
 © İlhan Eroğlu
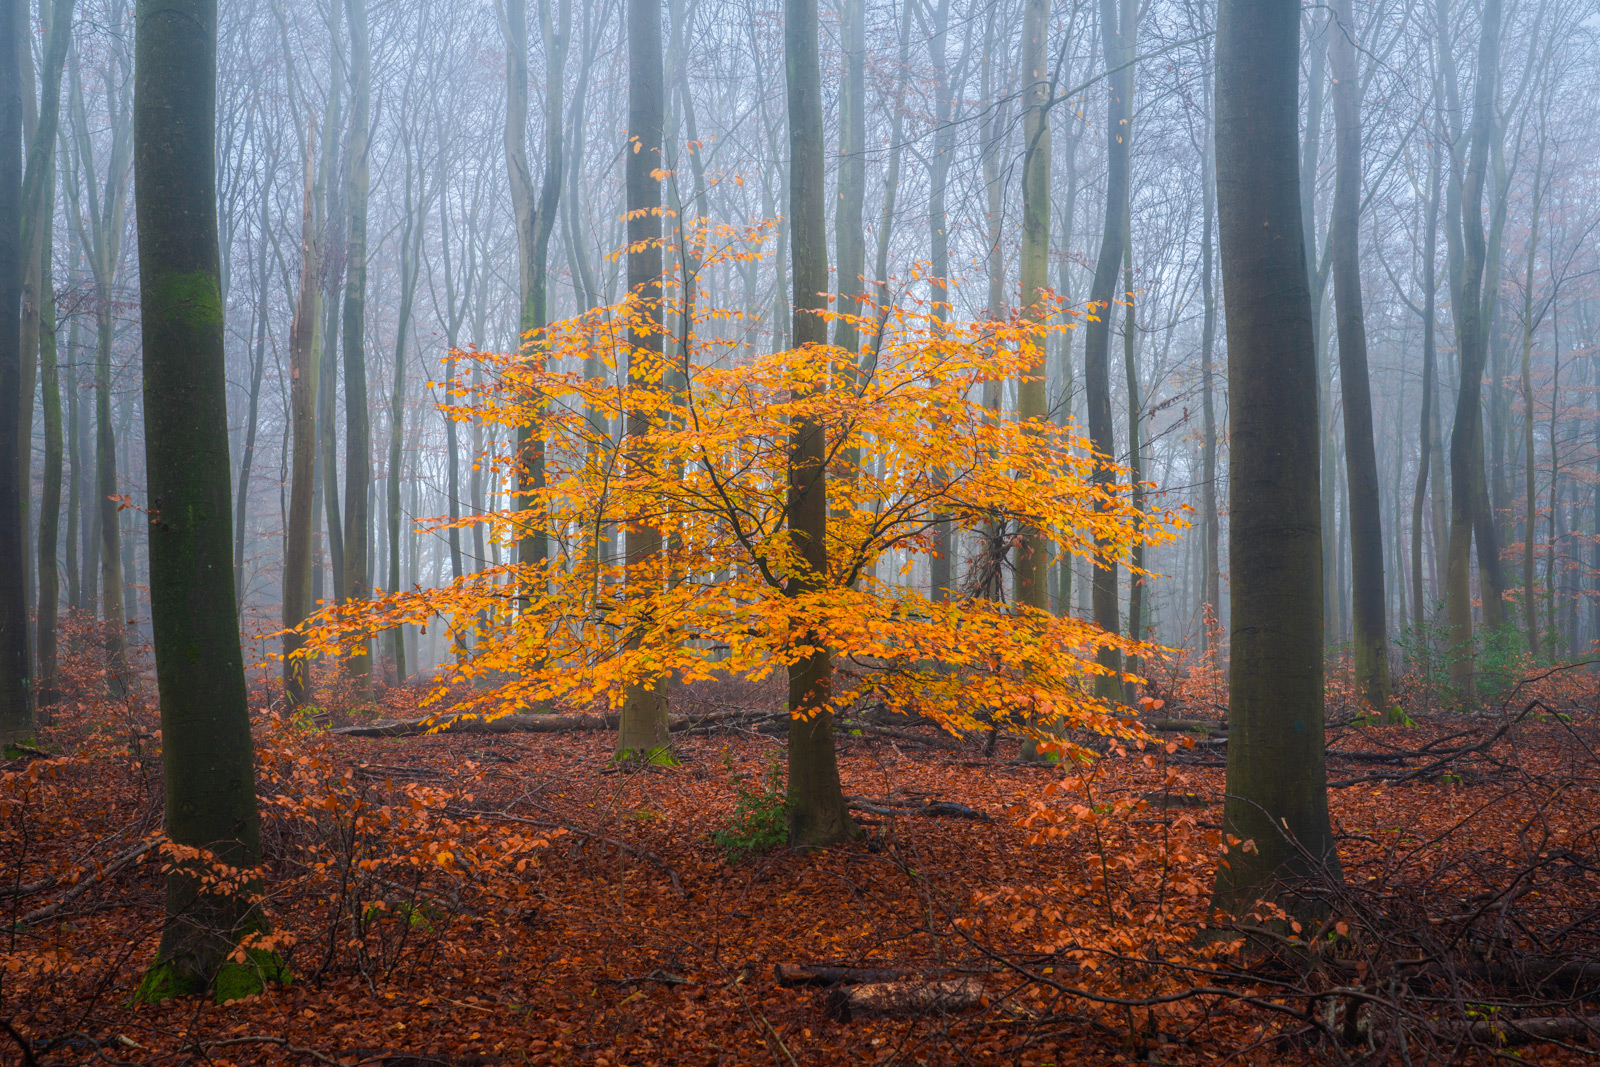
Lens Choice
To capture a stunning vista, a wide-angle lens is the best choice. The Sony FE 16-35mm f/2.8 GM II is an ideal choice, capturing definition and detail while providing an excellent zoom range for landscape images. Another good choice is the FE 16-25mm f/2.8 G, which is lightweight and compact, offering exceptional value for money.
Telephoto lenses are also great for autumnal landscapes, allowing photographers to pick out details in the scene. The FE 70-200mm f/2.8 GM OSS II is one of the most versatile lenses in the Sony E-mount range. Alternatively, the FE 70-200mm f/4 Macro G OSS II offers the same focal range, but with the ability to also shoot macro images, which can capture incredible close-ups of the colour and detail of autumn leaves, fungi, and autumn textures.
 © Albert Dros
Use a Polariser Filter
Most Sony lenses have a filter thread that allows you to screw a filter. Look for the Ø symbol on the end of the lens. The symbol will be followed by a number, which is the diameter of the filter thread and corresponds to the size of the filter that will fit. For example, the FE 16-35mm f/2.8 GM II features an 82mm filter thread. A circular polariser filter is a great choice for autumn shots, as it blocks light entering the lens from certain angles, which can reduce reflections and glare, thereby making colours more saturated and intense.
 © Albert Dros
Camera Choice
Sony’s Alpha 7R V is the obvious choice, with its incredible 61-Megapixel resolution that captures all the detail in a landscape. The Alpha 7CR offers the same sensor in a more petite, compact body, ideal for travel and those autumn walks.
But any Sony camera can take beautiful autumn images, so go out and explore!
 © Albert Dros
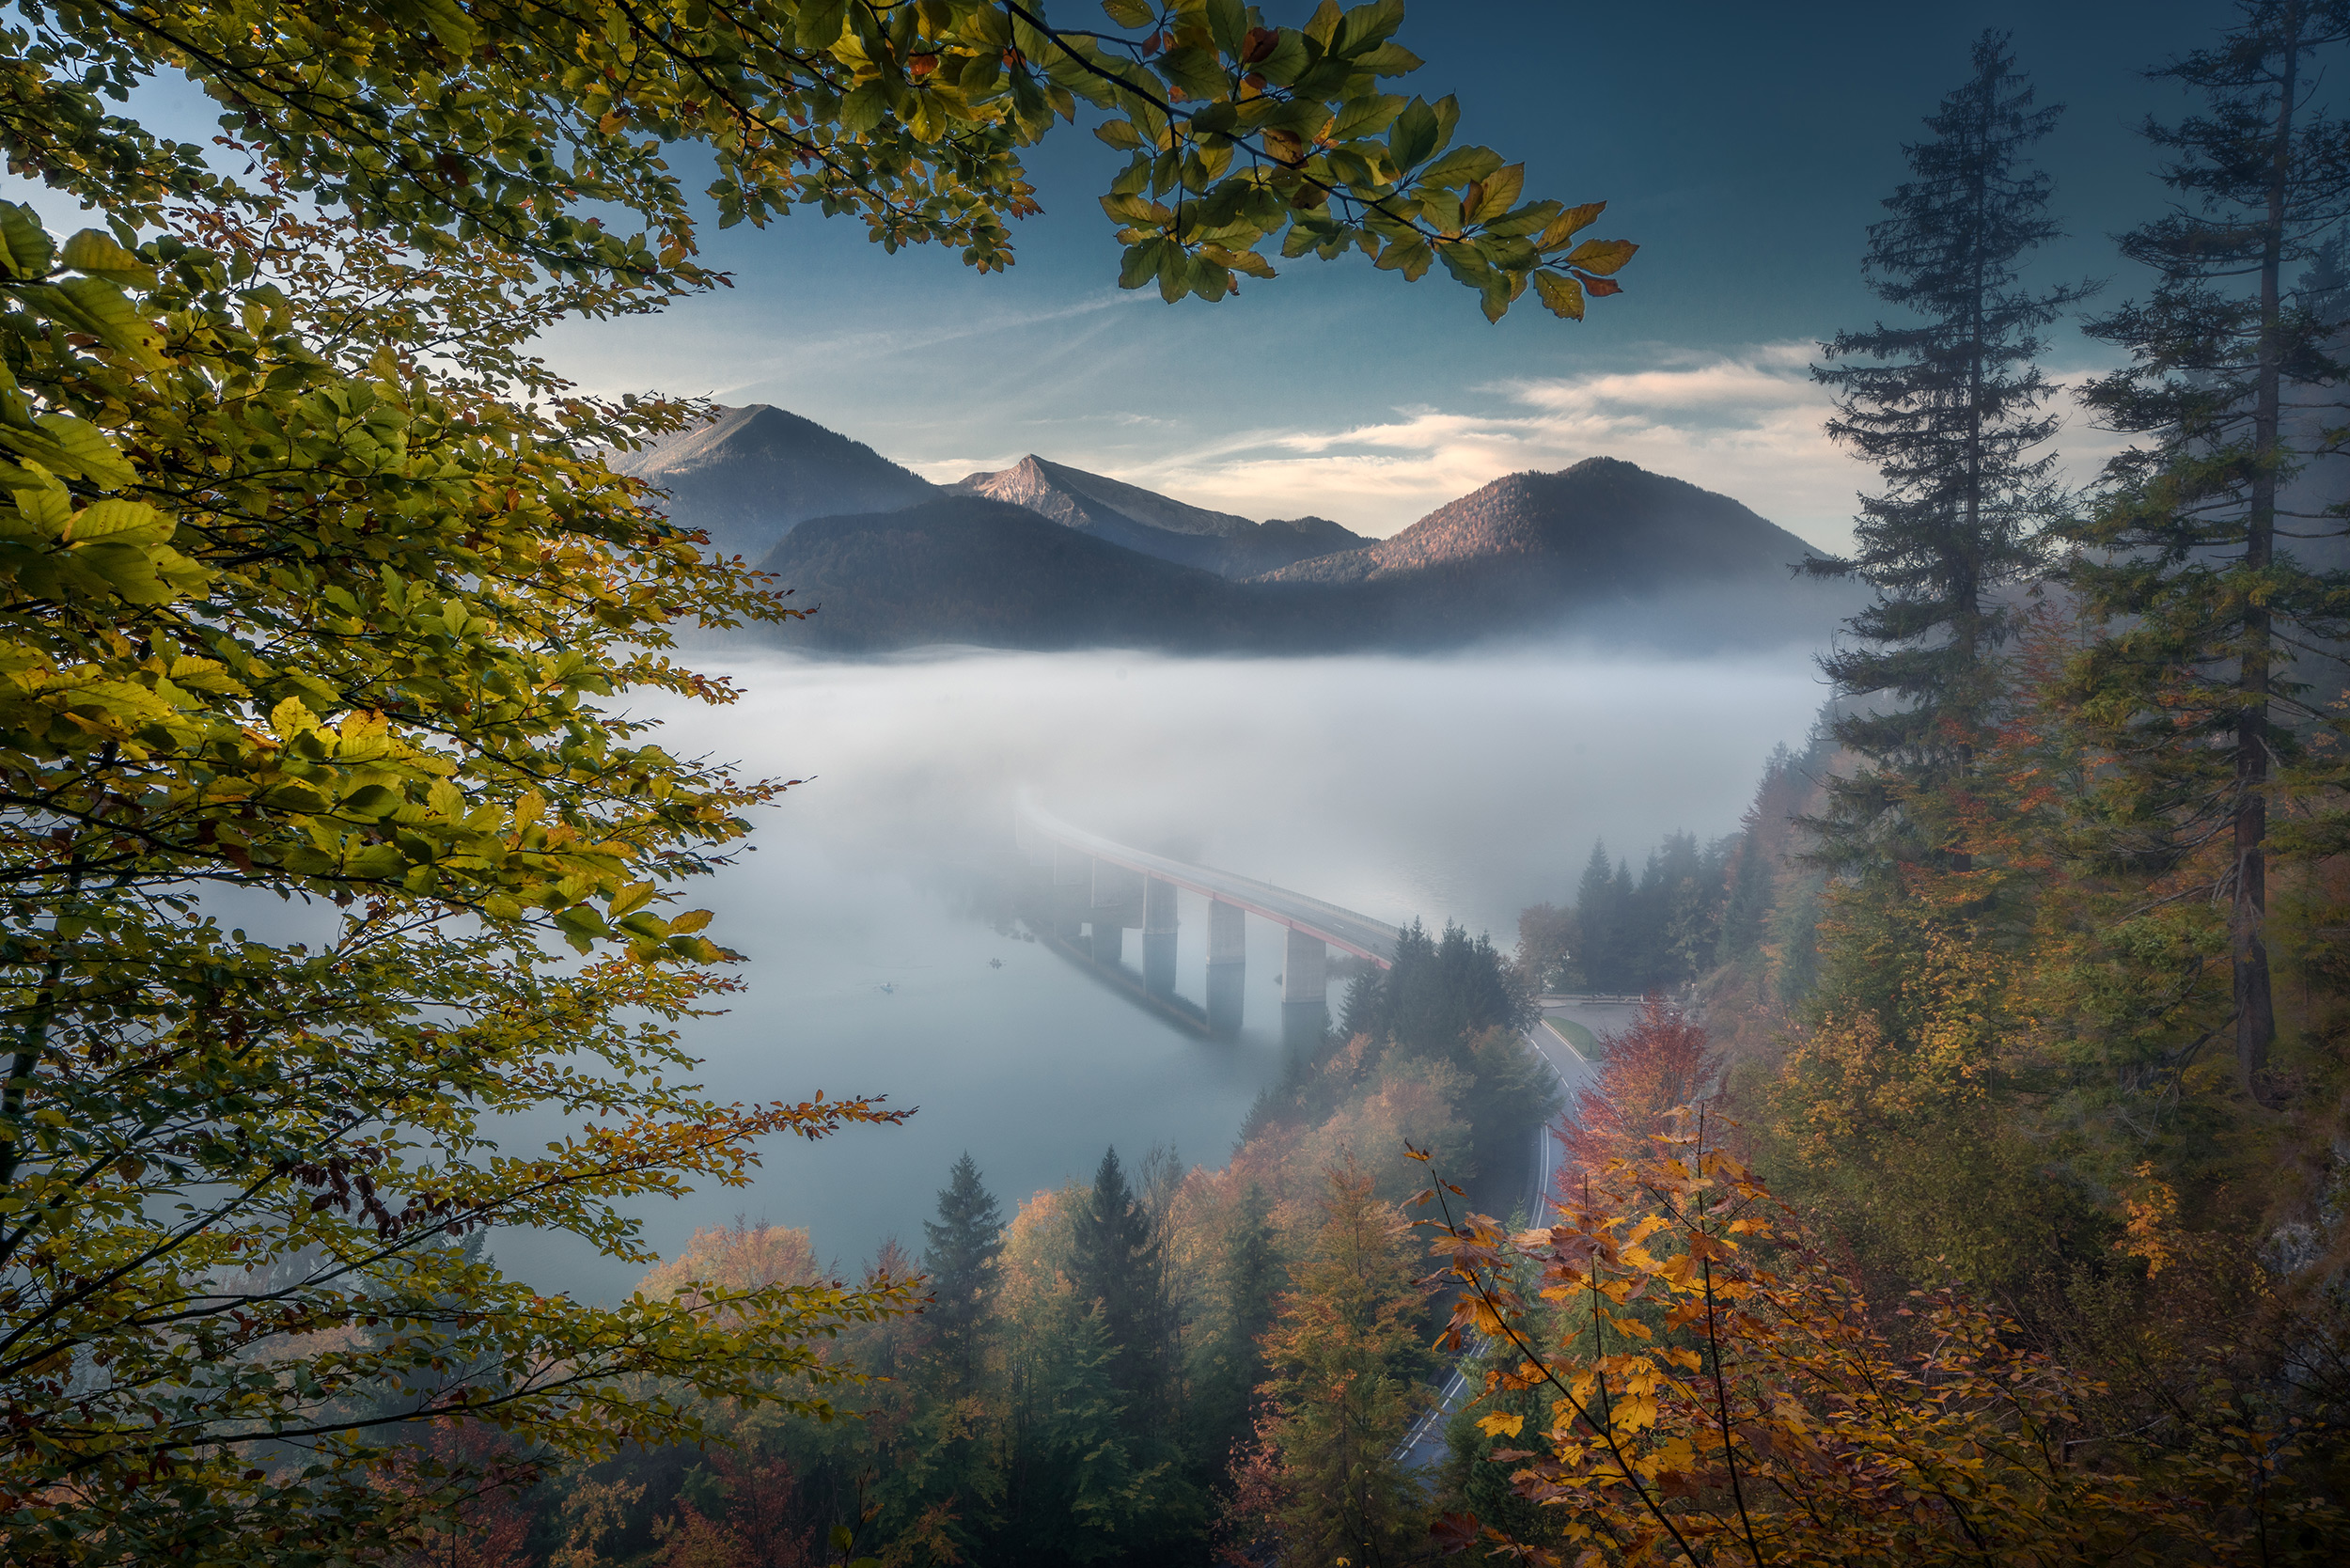
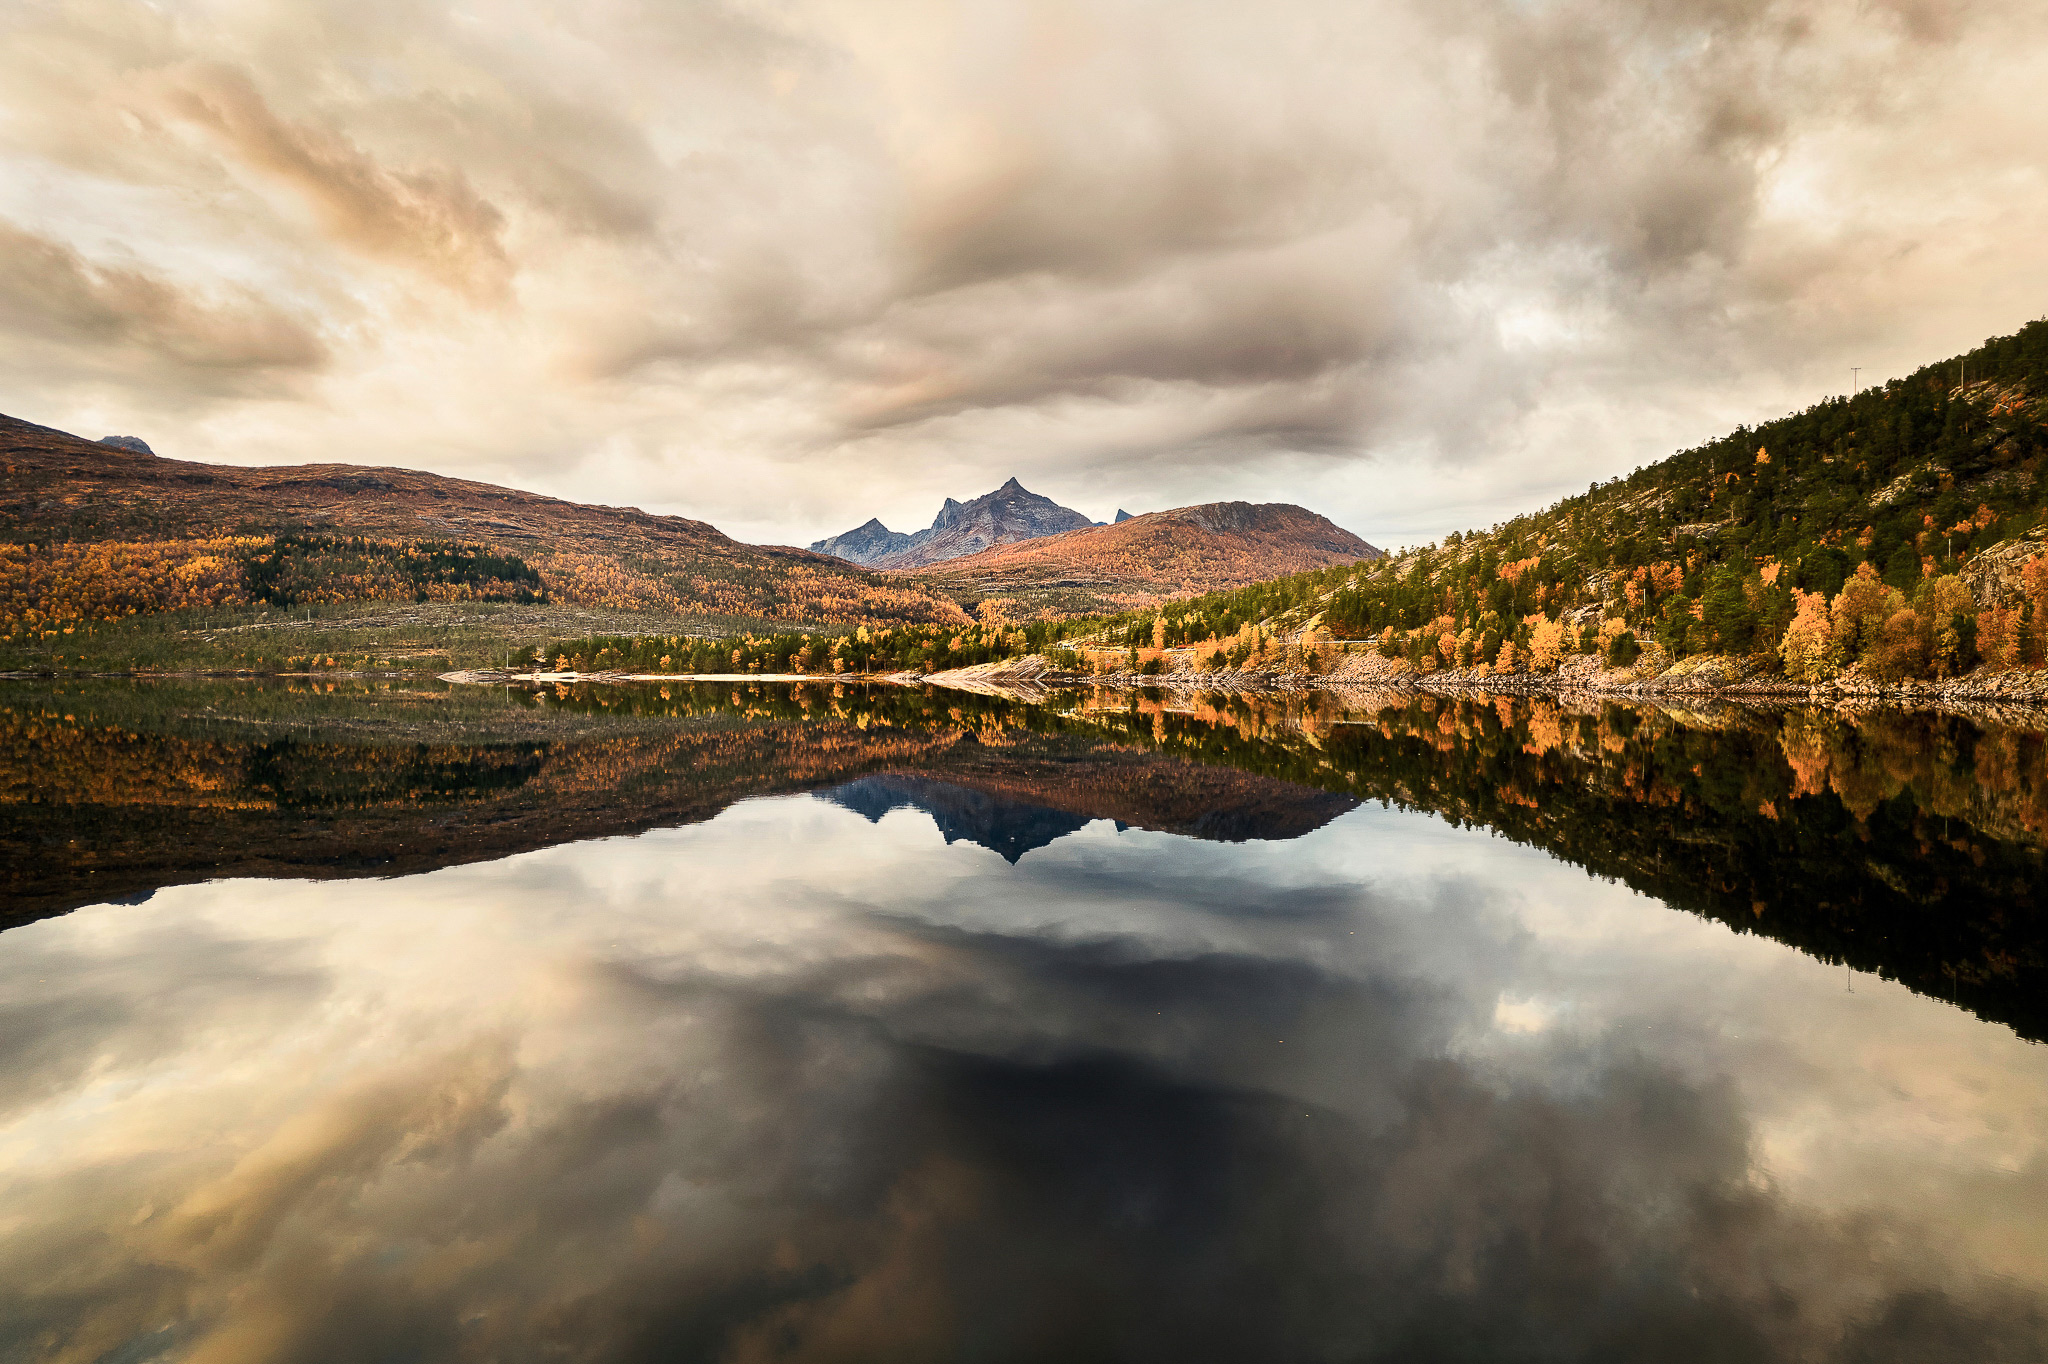
Reflections
Water can be great for creating striking images. The reflections of bright amber colours and a blue sky in a lake can be stunning if you can get a perfect mirror reflection. Keep an eye on days that are due to be sunny, with little or no wind, and head to the nearest pond or lake.
If it is windy, the wavy reflections can create an equally interesting landscape image or focus solely on the distorted reflections themselves to create a more abstract photograph.
 © Michael Schaake
Grid Line Display
To ensure your images are perfectly composed, enable Grid Line Display, located in the Shooting Menu under Shooting Display. Set the Grid Line Type to Rule Thirds and try to keep the horizon of your landscape on one of the horizontal lines. Which one depends on whether the key interest in the photo is the foreground or the sky.
If you have a dramatic golden sunrise lighting up the clouds, show more of the sky by placing the landscape in the lower third. If you have a spectacular landscape, but an uninspiring sky, place the sky in the upper third.
The lines will also help you ensure the image is level, but you can also display the Digital Level Gauge by cycling through the DISP. Button until it appears.
Summary
- Style & Settings: Experiment with different Creative Style and White Balance settings to achieve the desired intensity of colour and contrast.
- Golden Hour: Take advantage of autumn's later sunrises and earlier sunsets to capture dramatic light with ease.
- Wide-Angle Lens: Utilise the Sony FE 16-35mm f/2.8 GM II for stunning expansive vistas with exceptional clarity.
- Polarising Filter: Use a circular polariser to reduce reflections and make autumn colours appear more vibrant and saturated.
- Camera Body: The Alpha 7R V and Alpha 7C's 61-megapixel resolution captures incredible detail in autumn landscapes.
- Grid Lines: Enable the Rule of Thirds grid to help with composition
- Reflections: Seek sunny, windless days to capture perfect mirror reflections of autumn colours in water.


