Top Tips: Capturing Backlit Portraits
Add a touch of Magic.
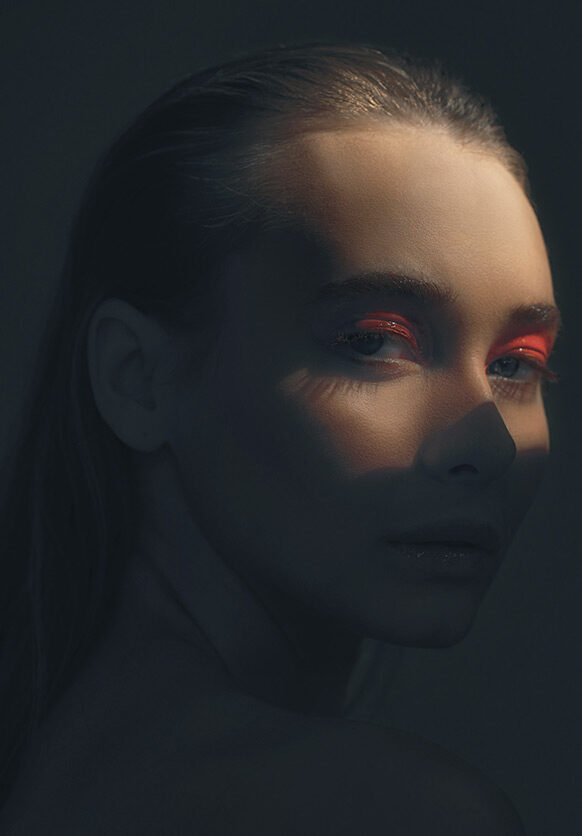
Backlighting is as simple as it sounds. You use a light behind your subject to make it stand out from the background. It's very common to use a backlight in a studio portrait, where it can add definition to your subject’s hair or head, but backlighting doesn't just have to be used for portraits. You can use it for product images, photographs of animals, or even subjects in landscapes, such as trees.
 © Gonçalo Delgado | Sony α9 + FE 24-70mm f/2.8 GM | 1/500s @ f/4.0, ISO 1000
Hide The Sun
The sun can be an inconvenience to photographers on some occasions; it is so bright that it renders a huge white void in our images. However, use it to your advantage. Rather than turning your camera away from the sun when taking portraits, hide the sun directly behind the subject's head to act as a hair light, just as you would in a studio shoot. It can elevate a subject by highlighting their hair or even creating a full halo effect.
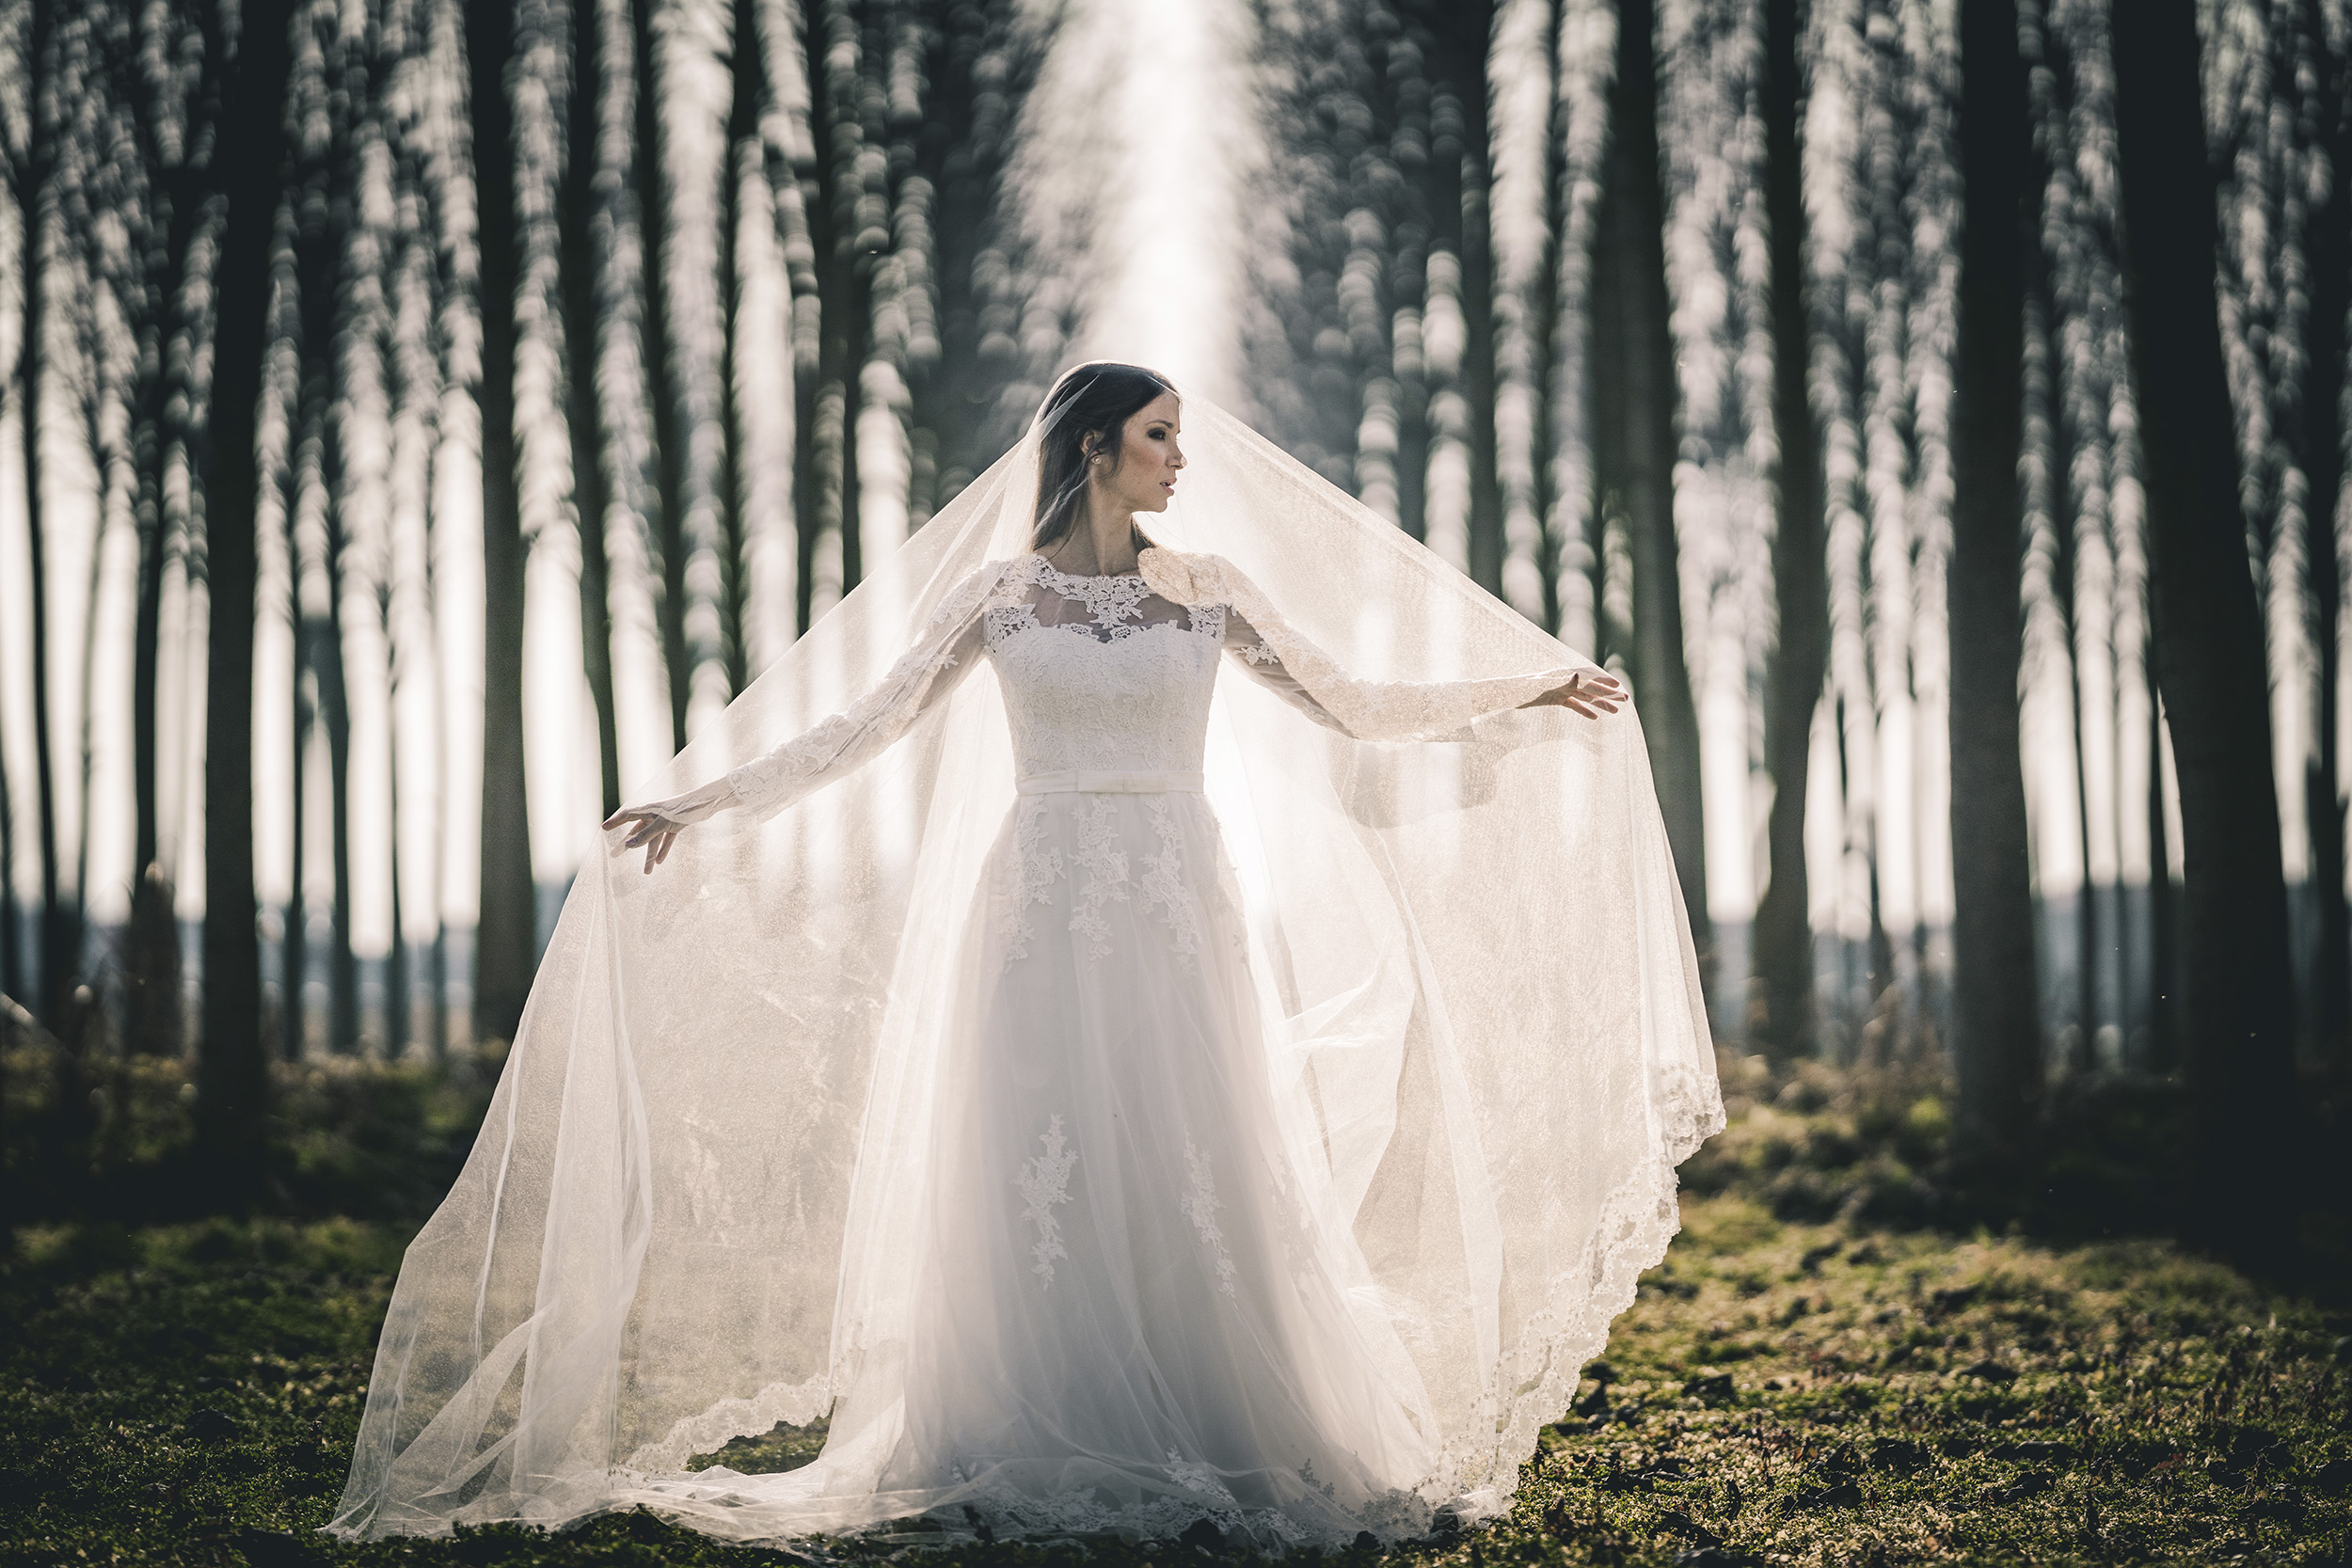 © Cristiano Ostinelli | Sony α7R III + FE 135mm f/1.8 GM | 1/6400s @ f/1.8, ISO 100
Use a Fill-in Flash
Of course, with the light coming from behind the subject, you may want to add a touch of light to your subject's face. You can do this using a flashgun, such as the HVL-F28RM. Ensure your Sony Alpha camera's flash mode is set to Fill-Flash. This is found in the Menu at Exposure/Colour > Flash > Fill Flash. If you take some test shots and find that you need to Fill Flash to be brighter, you can adjust the power of the light by using Flash Compensation - which is found in the Exposure/Colour > Flash menu.
 © Hannah Couzens | Sony α7R III + FE 24-70mm f/2.8 GM | 1/30s @ f/3.5, ISO 400
Exposure
The face is obviously the most essential part of any portrait. To make getting a correct exposure easier when shooting a backlit portrait with flash and Multi Metering, Aperture, or Shutter priority mode, turn on Face Priority mode (Exposure/Colour > Metering > Face Priority in Multi Metering >On). This will ensure that your Alpha camera gets a perfect exposure of the face, even with bright backlighting and a fill-in flash.
Overpower The Sun
There are some fun things you can do with backlighting and a fill-in flash, such as trying to overpower the sun. This can look especially effective during sunrise and sunset where you can capture the beautiful golden glow without it being washed out.
To do this, select ISO 100 and then the fastest flash-sync speed of your Sony camera, which will usually be 1/125-1/250s. Next select a small enough aperture to ensure you get all the detail in the sky you want. The idea is that you are using the camera exposure settings to get the background looking like you want it, then using the flash exposure to light the subject so you can ignore the subject's exposure completely. Now, set the flash to full power and take a shot. The background will be exposed as before, but your subject will be lit almost entirely by the flash.
 © Maki Galimberti | Sony α7R II + FE 24-70mm f/2.8 GM | 1/50s @ f/8.0, ISO 80
Use High-Speed Synchronisation
If the 1/250th-second shutter speed isn't enough to overpower the sun, try using High Speed Synchronisation (HSS) mode. This is done on your Sony flashgun by pressing the Fn button, selecting HSS on the screen, and switching it to On. You can now increase your shutter speed to up to 1/4000th sec, but you must reduce the flash power to 1/2. Again, play with the settings to get your desired result.
 © Martin Krolop | Sony α9 III + FE 24mm f/1.4 GM | 1/16000s @ f/1.4, ISO 250
The Alpha 9 III is a master at shooting High-Speed Synchronisation portraits thanks to its global electronic shutter. You can read more and see what it can do by reading about how Martin Krolop uses his Alpha 9 III and Sony flash kit here.
 © Tobias Hägg | Sony α7R IV + FE 24-70mm f/2.8 GM II | 1/640s @ f/14, ISO 100
Sun Stars
When using backlighting, instead of trying to hide the sun behind your subject, why not make it into a feature of the image? One way you can do this is to turn it into a sun star. To do this, set your lens to a small aperture, such as f/16, and the sun will turn into a star. The number of points will depend on the number of aperture blades of the lens. If the lens has an even number of aperture blades, the number of points will match the number of blades. However, if you have a lens with an odd number of aperture blades, for example, the 11 blades of the FE 24-50mm f/2.8 G - the number of points will double, so your sun star will have 22 points.