Top Tips: Summer Travel Photos
Before you head off on your travels this summer, here is our guide on how to take great travel images with your Sony Alpha cameras and lenses. From choosing the right gear to mastering timing and creative techniques, these essential tips will help you capture memorable shots that stand out.
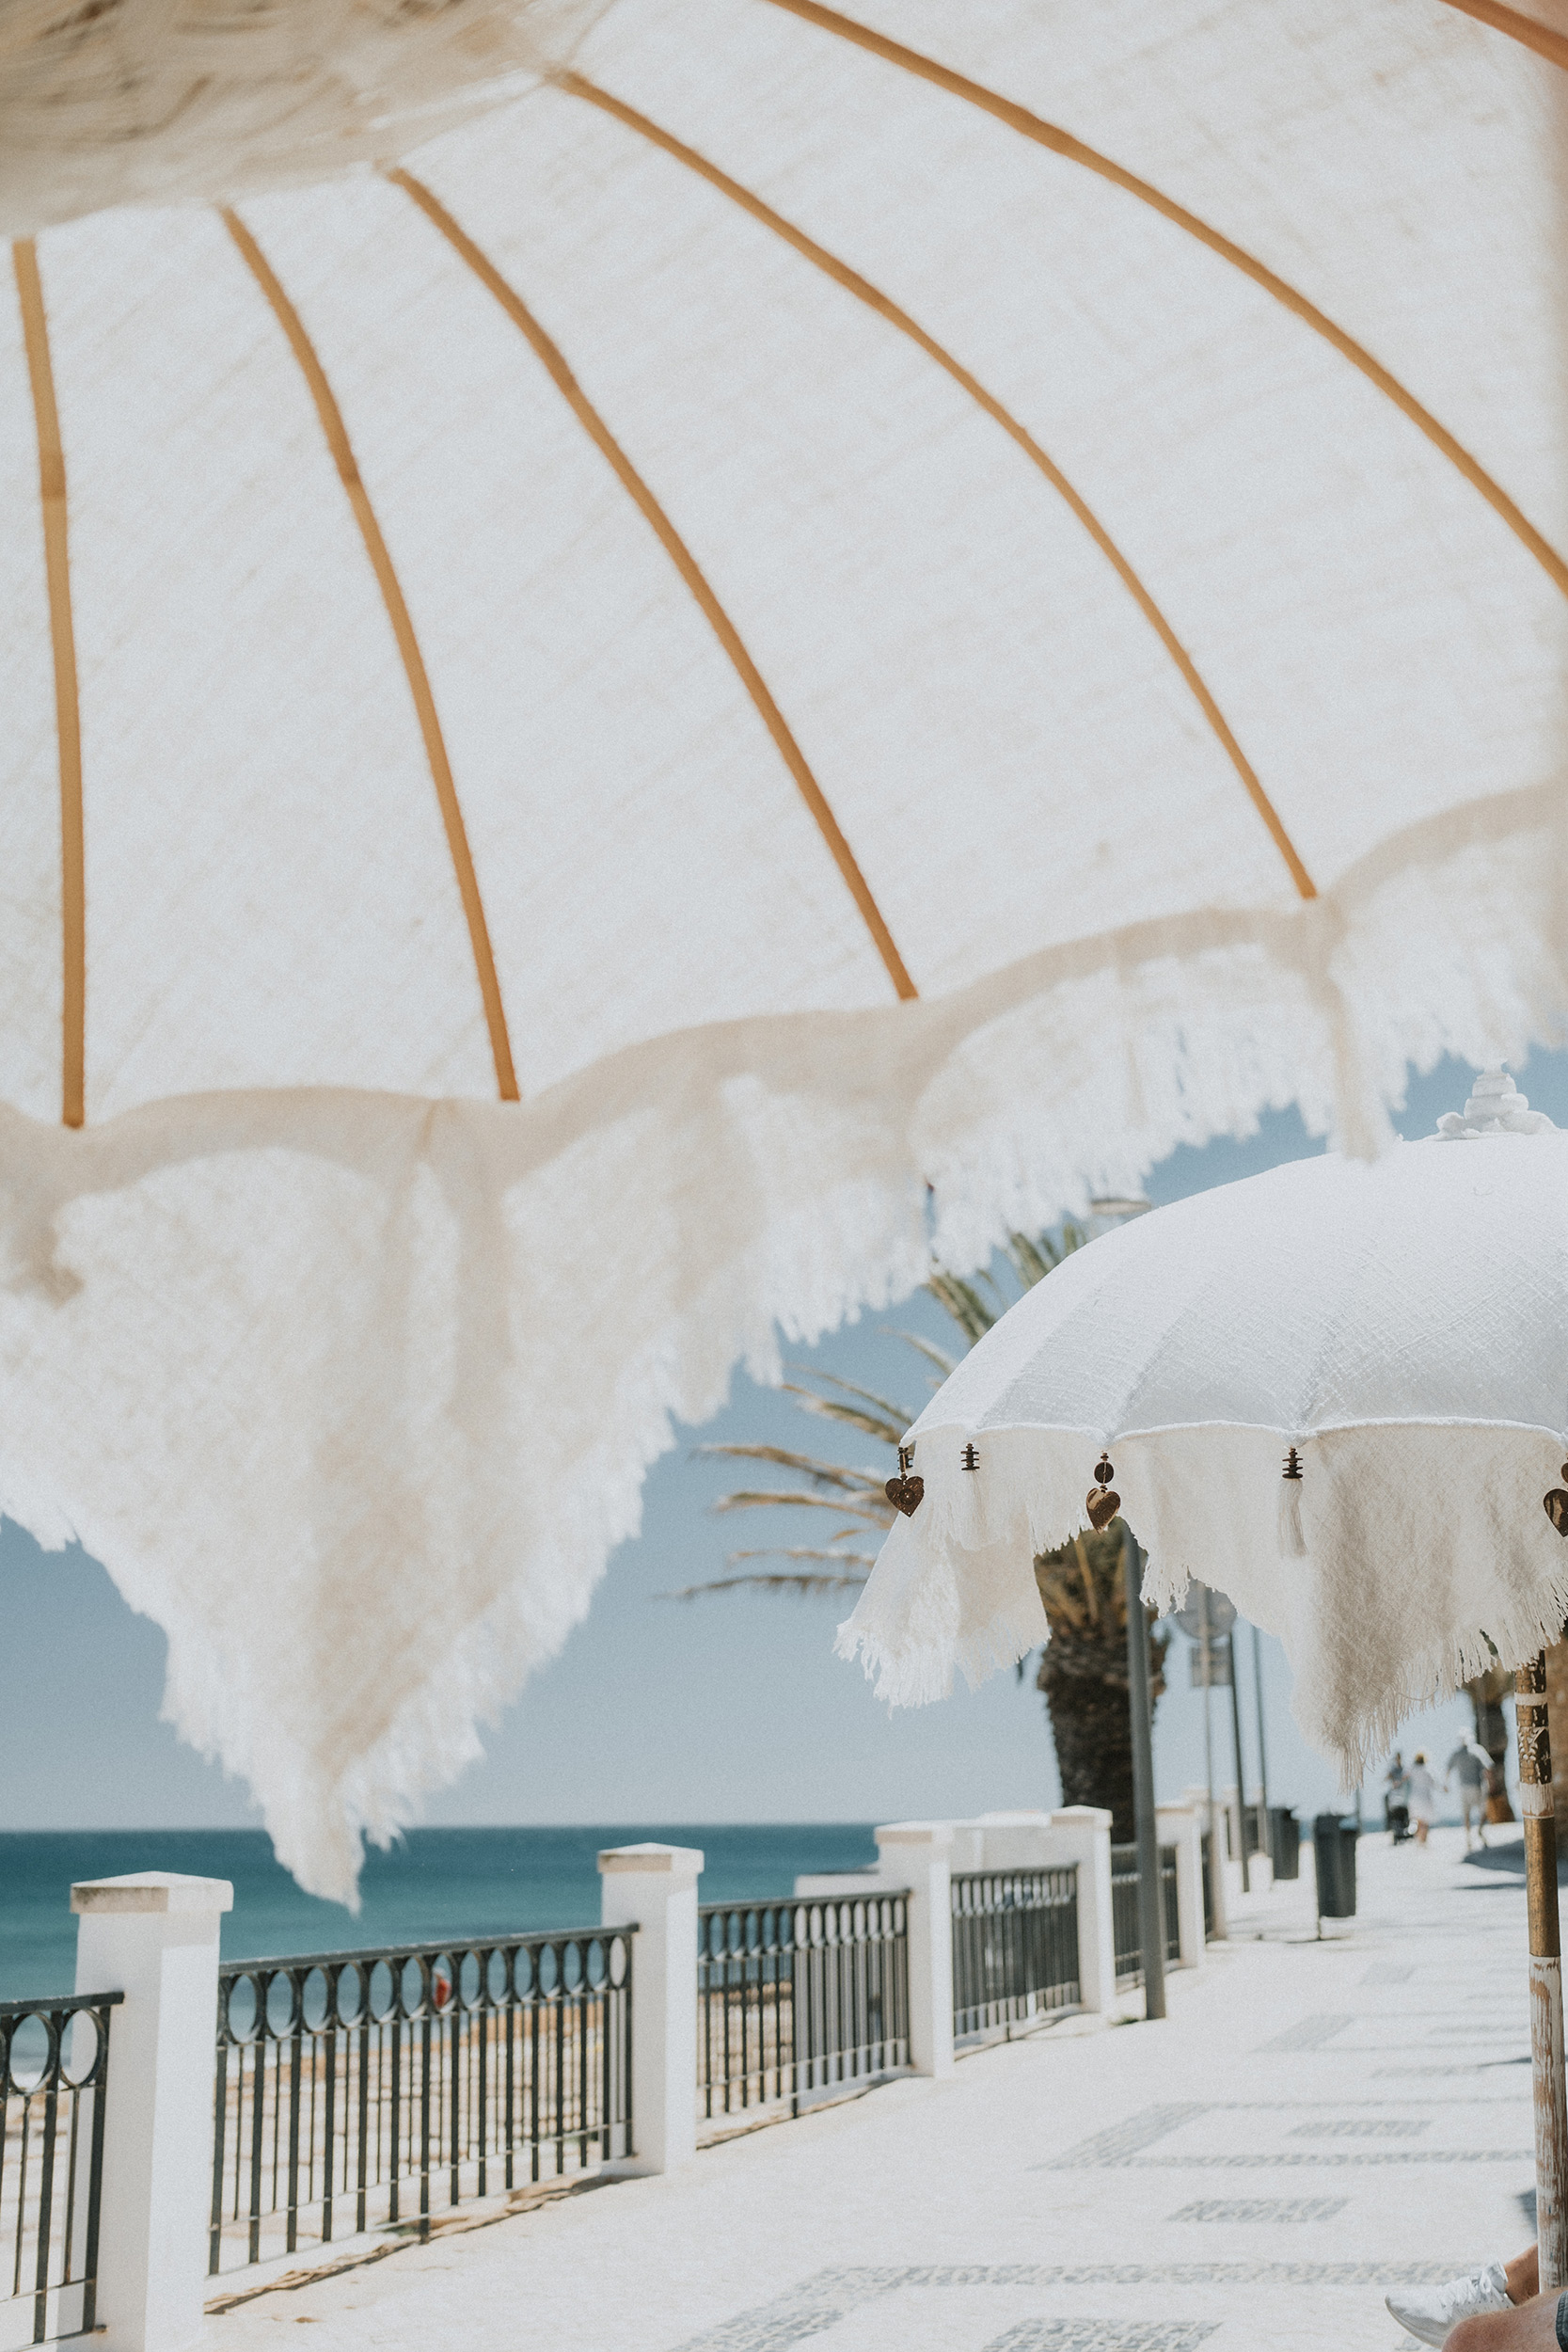
 © Albert Dros | Sony α7R III + FE 24mm f/1.8 GM | 1/8000s @ f/1.4, ISO 100
Camera Choice
Size and weight are crucial factors for travel photography, and Sony offers excellent options to suit various needs and budgets. The compact Sony Alpha 7C II features a 33-megapixel resolution, 7-stop SteadyShot Stabilisation, and dedicated AI processing chip for superior autofocus performance. For maximum detail, the Alpha 7CR offers the same features with 61-megapixel resolution, perfect for landscape photographers who want to crop extensively while maintaining quality.
APS-C users should consider the Sony Alpha 6700, which features a 26-megapixel resolution and the same AI capabilities as the latest Alpha 7C cameras. The ZV series caters to content creators, featuring the versatile ZV-E10 II, the full-frame ZV-E1 with cinematic features, and the pocket-friendly ZV-1 II compact camera.
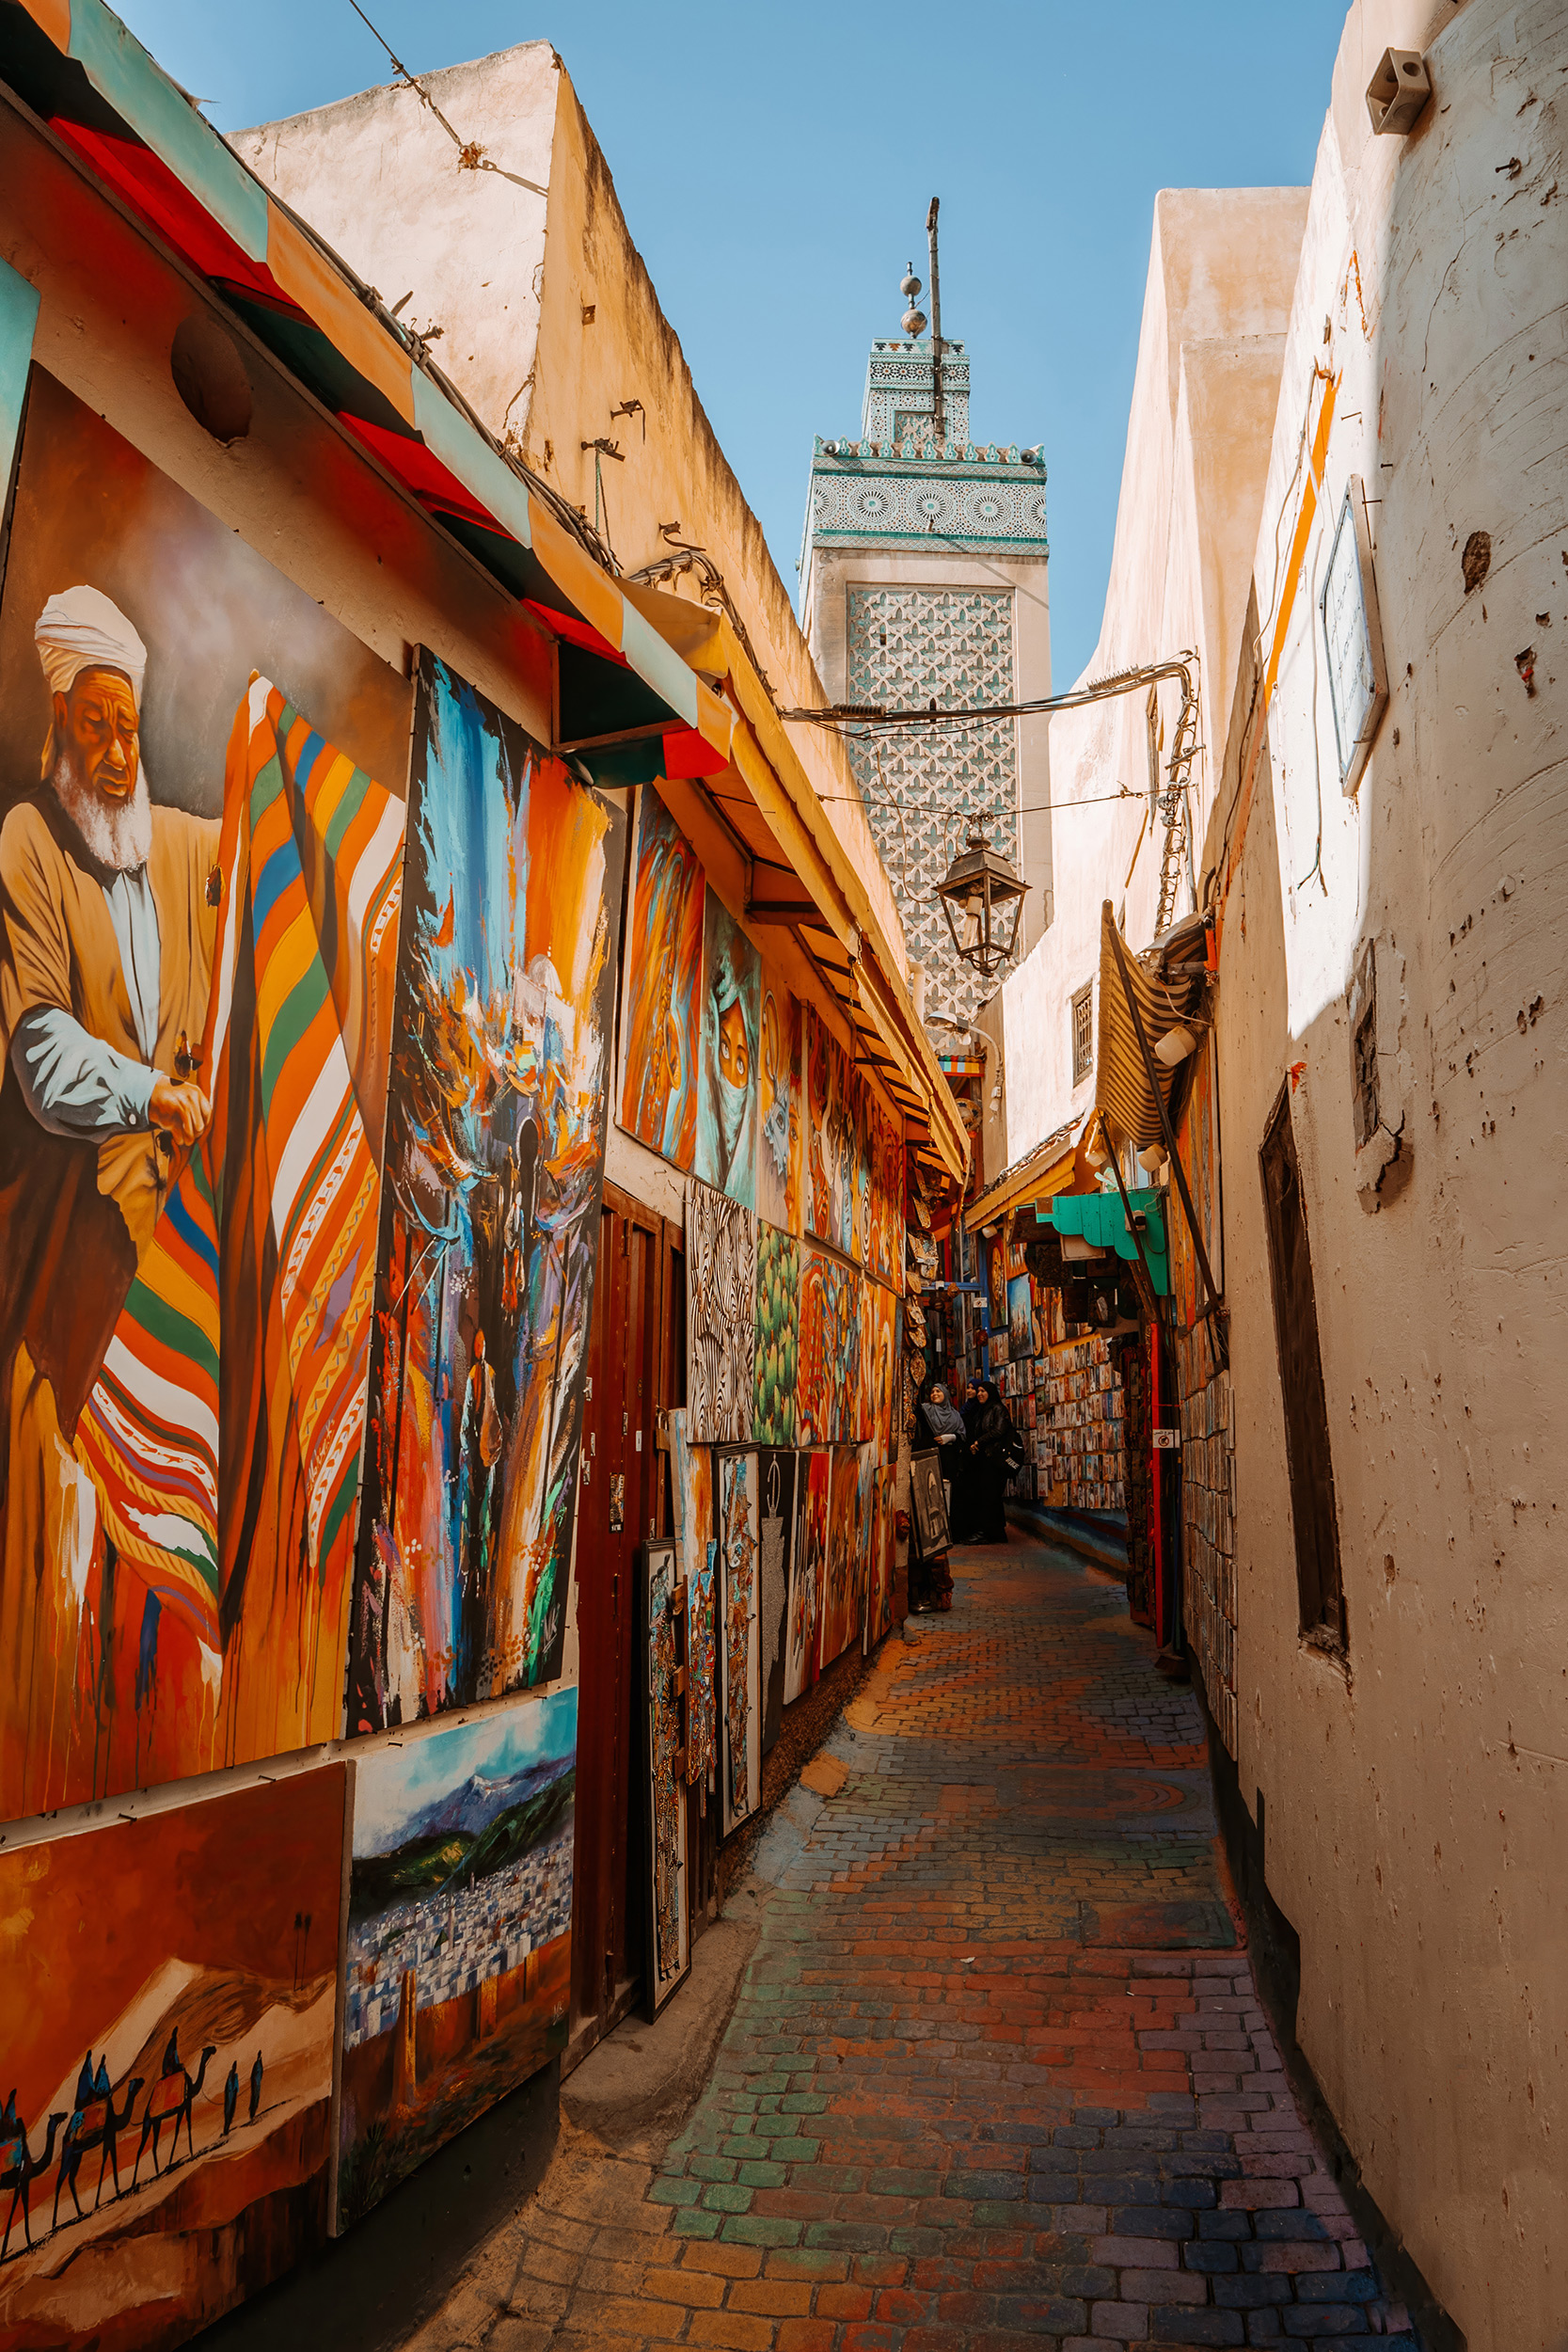
 © Ron Timehin | Sony α7CR + FE 40mm f/2.5 G | 1/640s @ f/5.6, ISO 640
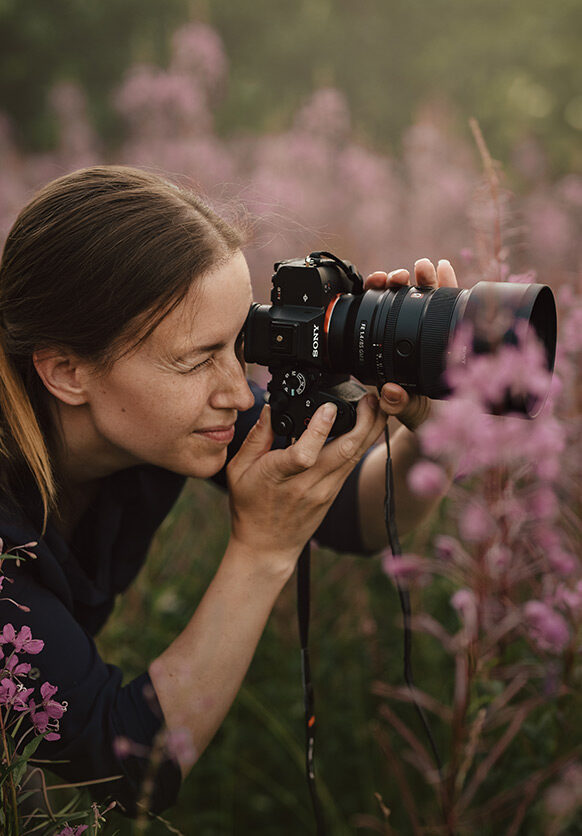
Lens Choice
When selecting travel lenses, photographers face two key considerations: you never know what you'll encounter, and you want to travel light without sacrificing image quality.
The Sony FE 24-105mm f/4 G OSS excels here, covering everything from landscapes to street portraits with optical stabilisation for sharp handheld shots and weighing at just 663g it keeps your kit manageable. Even more minimal is the Sony FE 40mm f/2.5 G, weighing just 173g it offers a natural perspective perfect for documentary-style travel images. The Sony FE 24-70mm f/2.8 GM II remains the classic choice for versatility, size, and image quality.
APS-C users should consider the Sony E 18-135mm f/3.5-5.6 OSS, which offers 27-200mm equivalent coverage with optical stabilisation, making it ideal for wildlife, architecture, and street photography in a single lens.
 © Alexander Wieck | Sony α7 IV + FE 20-70mm f/4 G | 1/250s @ f/4.0, ISO 100
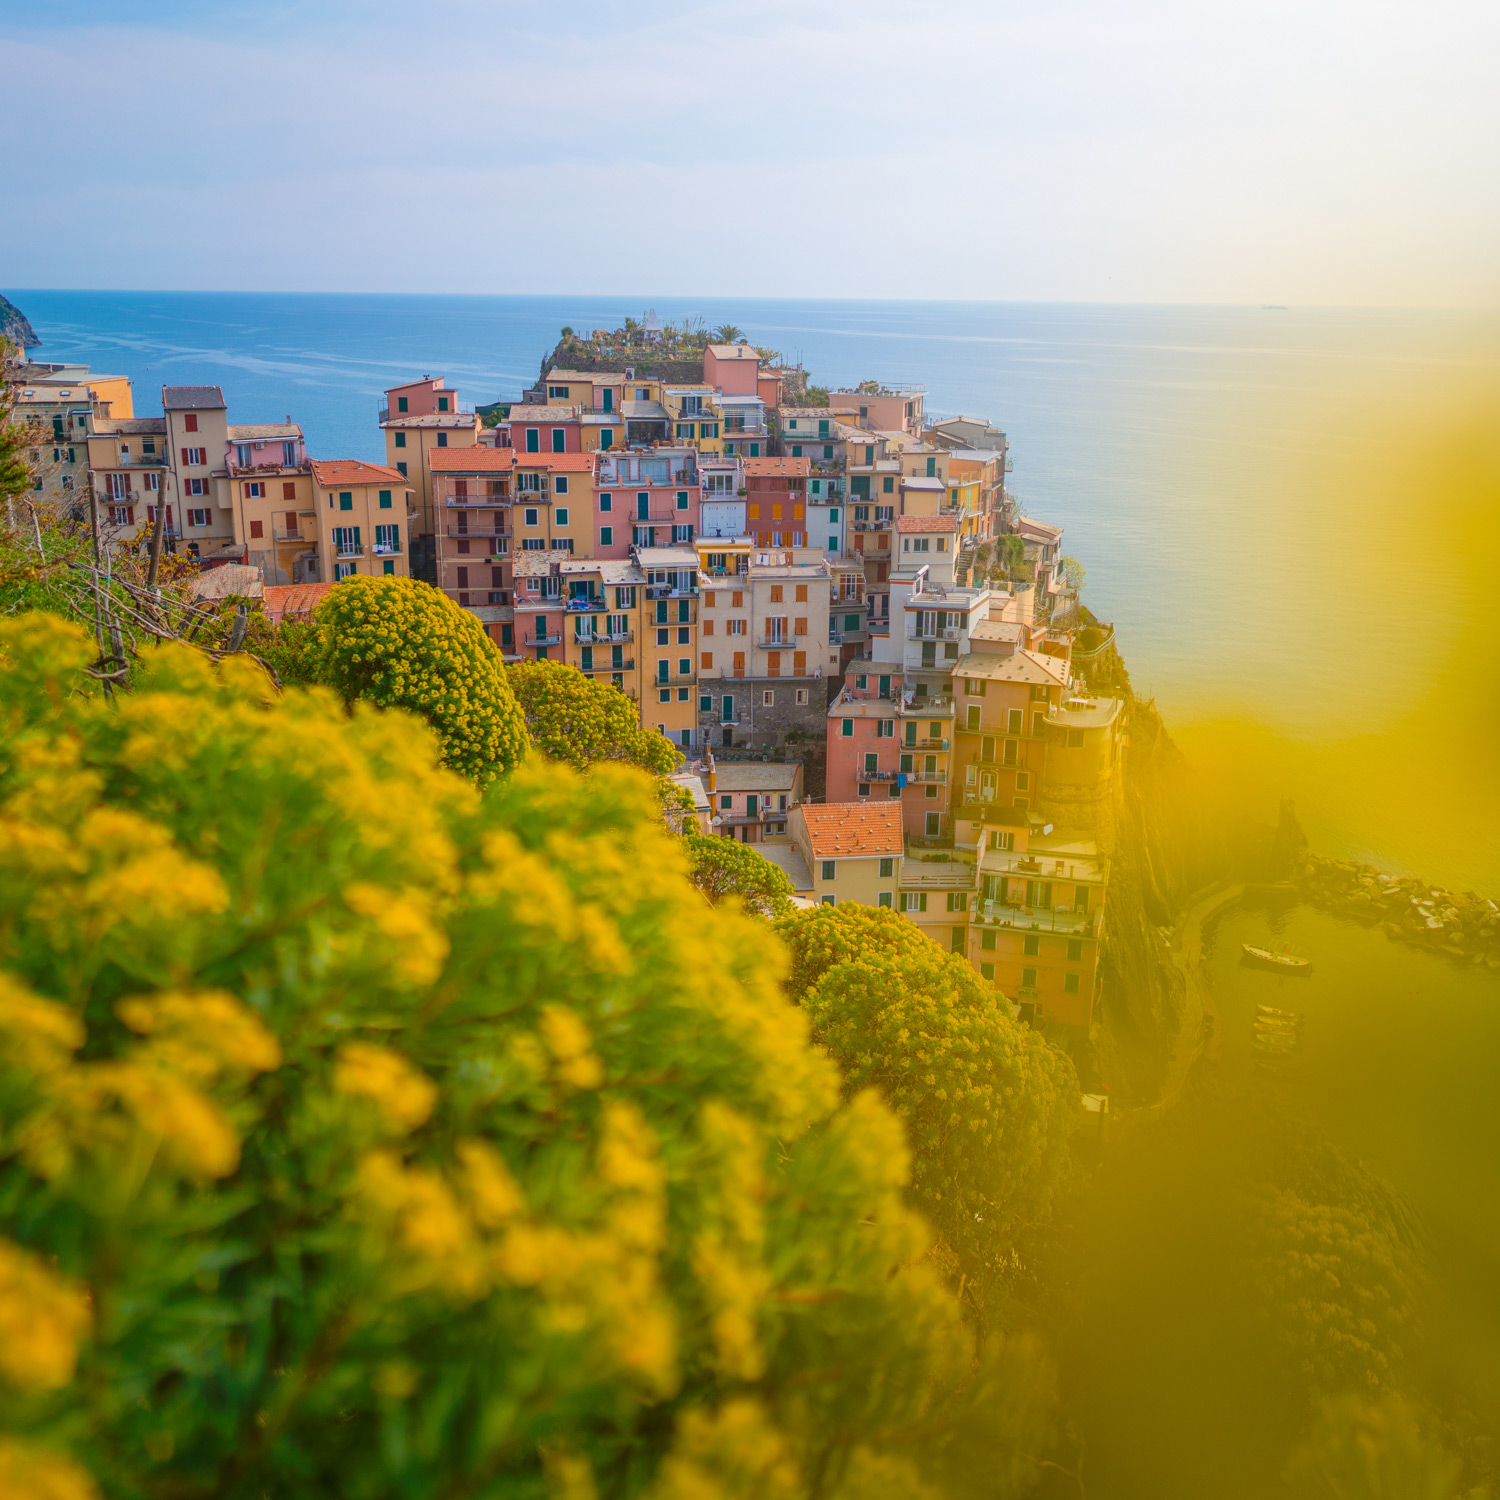
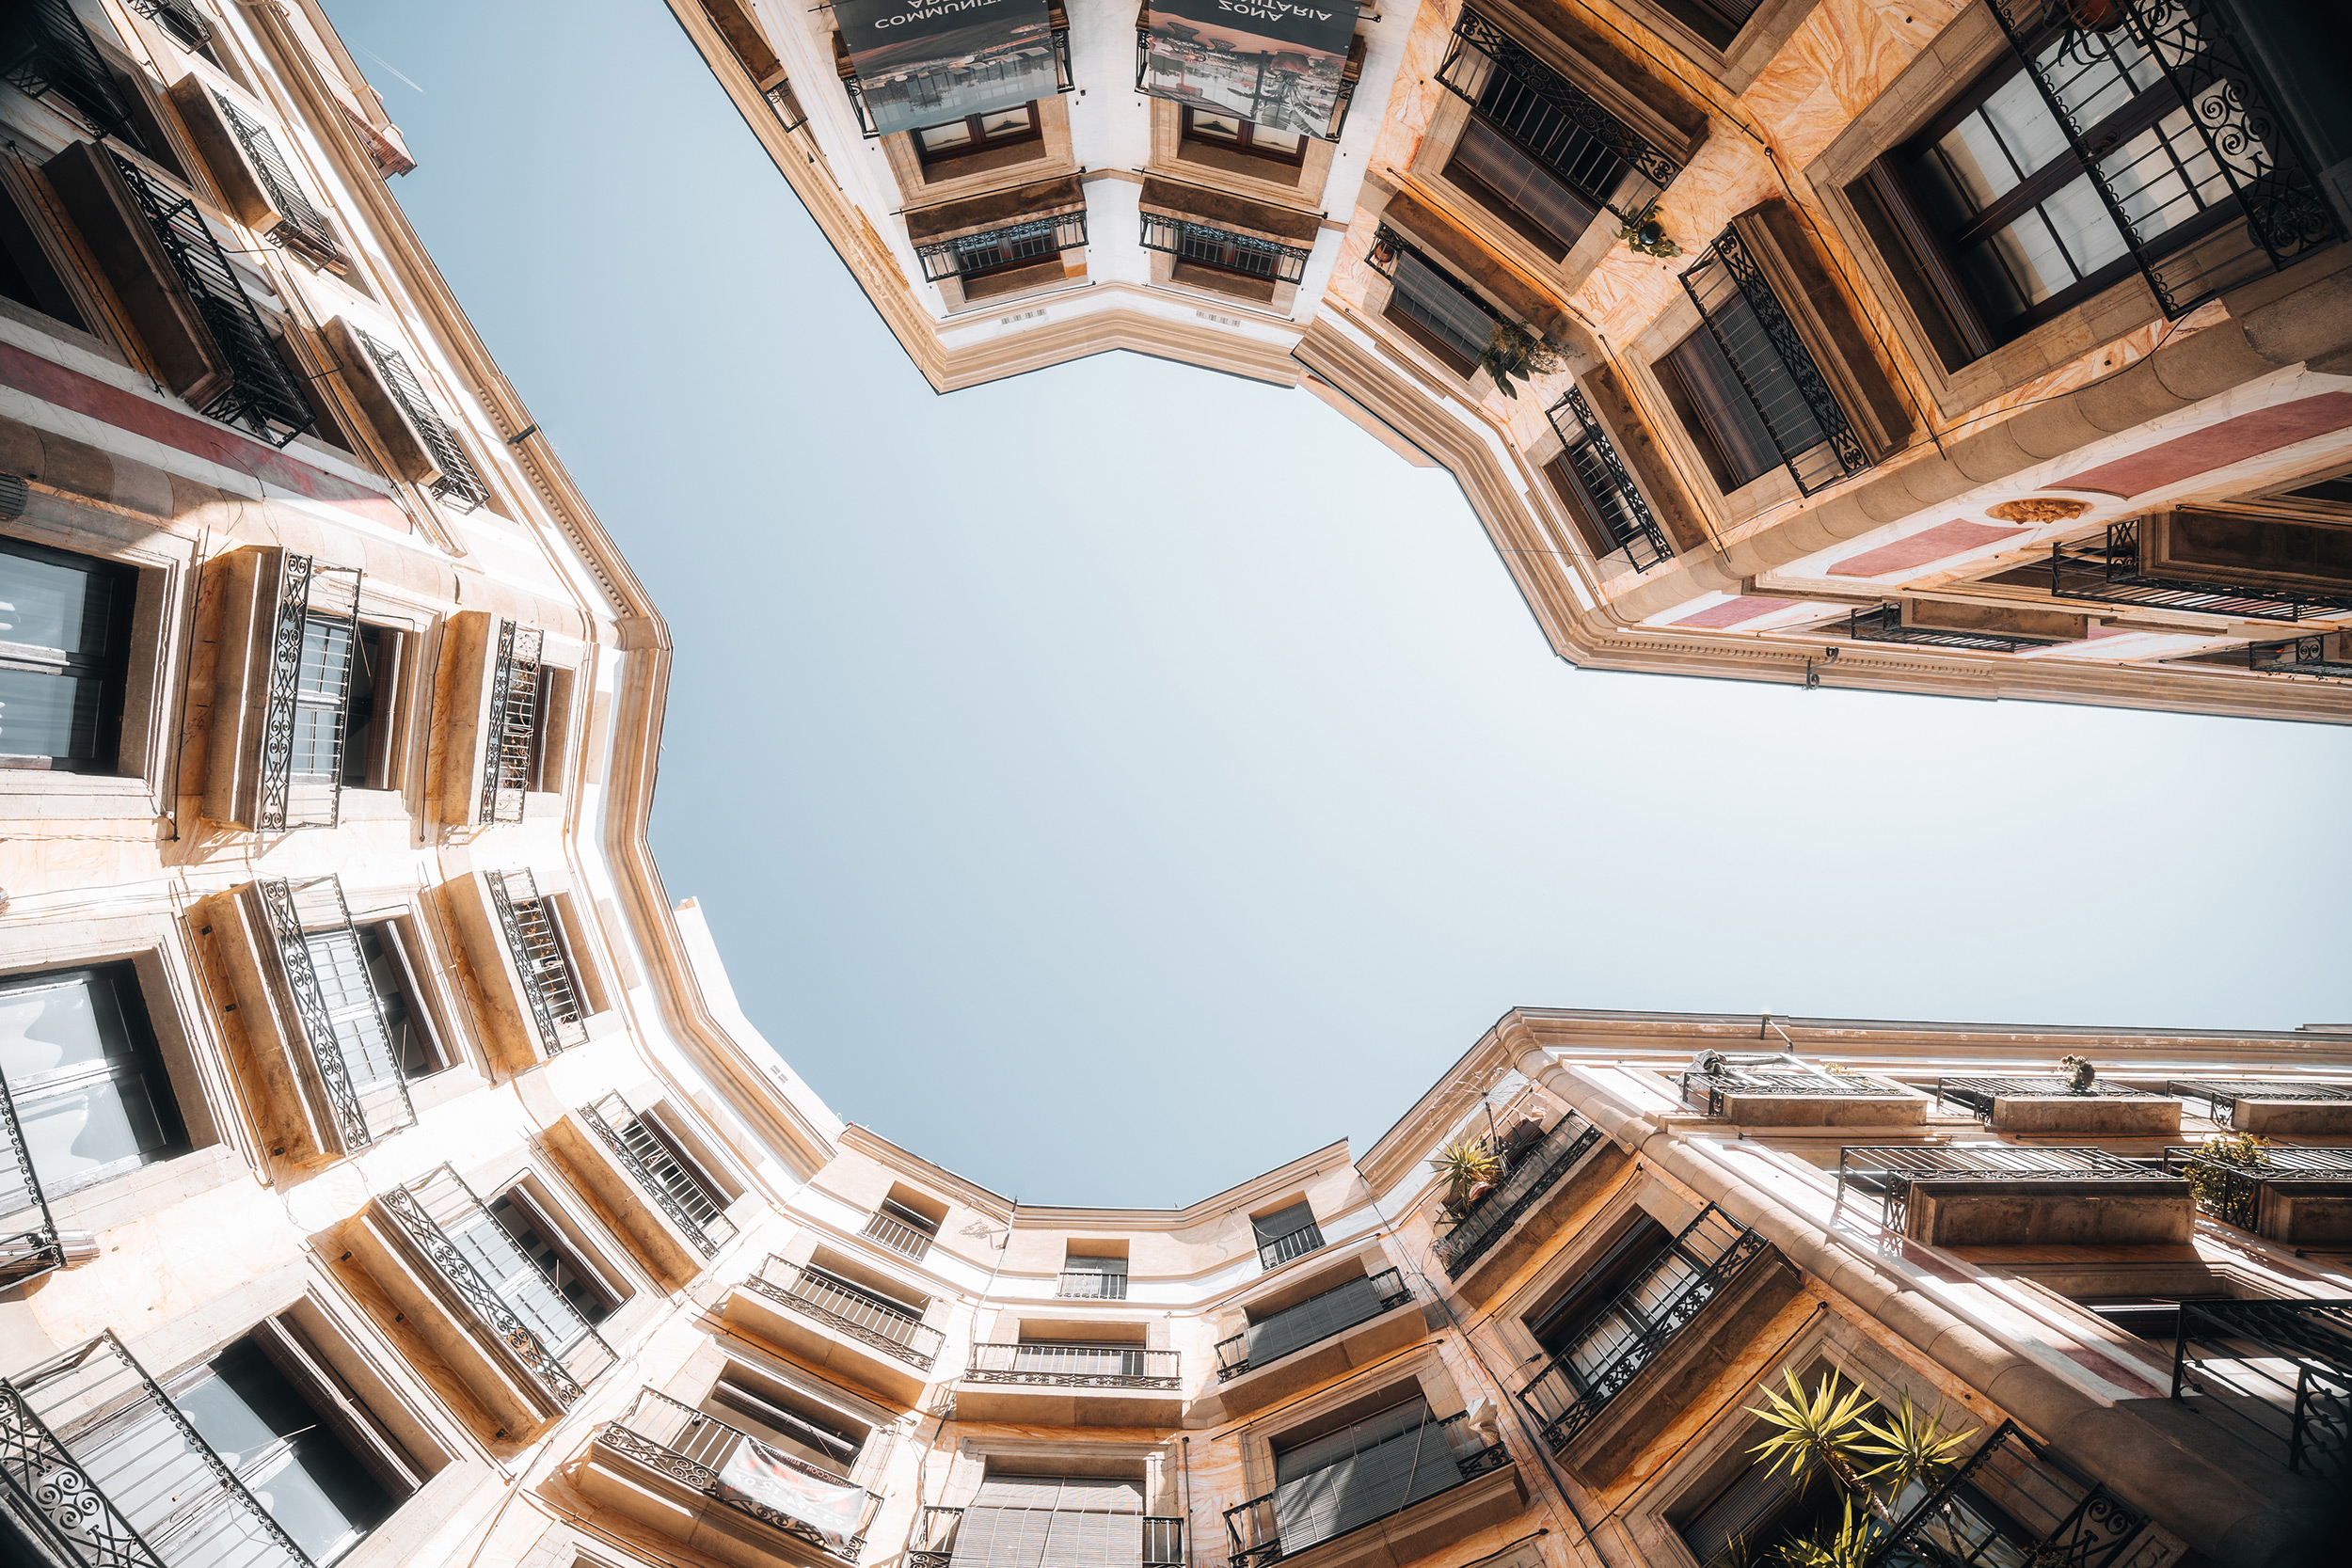
Photograph What Others Don't
Once you've got your gear sorted, think creatively about your shots. Changing perspective makes a dramatic difference so try shooting from ground level or elevate yourself rather than shooting at eye level like every other tourist.
Seek out alternative viewpoints of iconic locations, like rooftop bars or restaurants, that offer elevated perspectives. Add depth and interest to images by incorporating plants, street signs, or street furniture to create unique shots with added depth and context. Also, look for reflections from windows or water to transform simple shots into a creative composition.
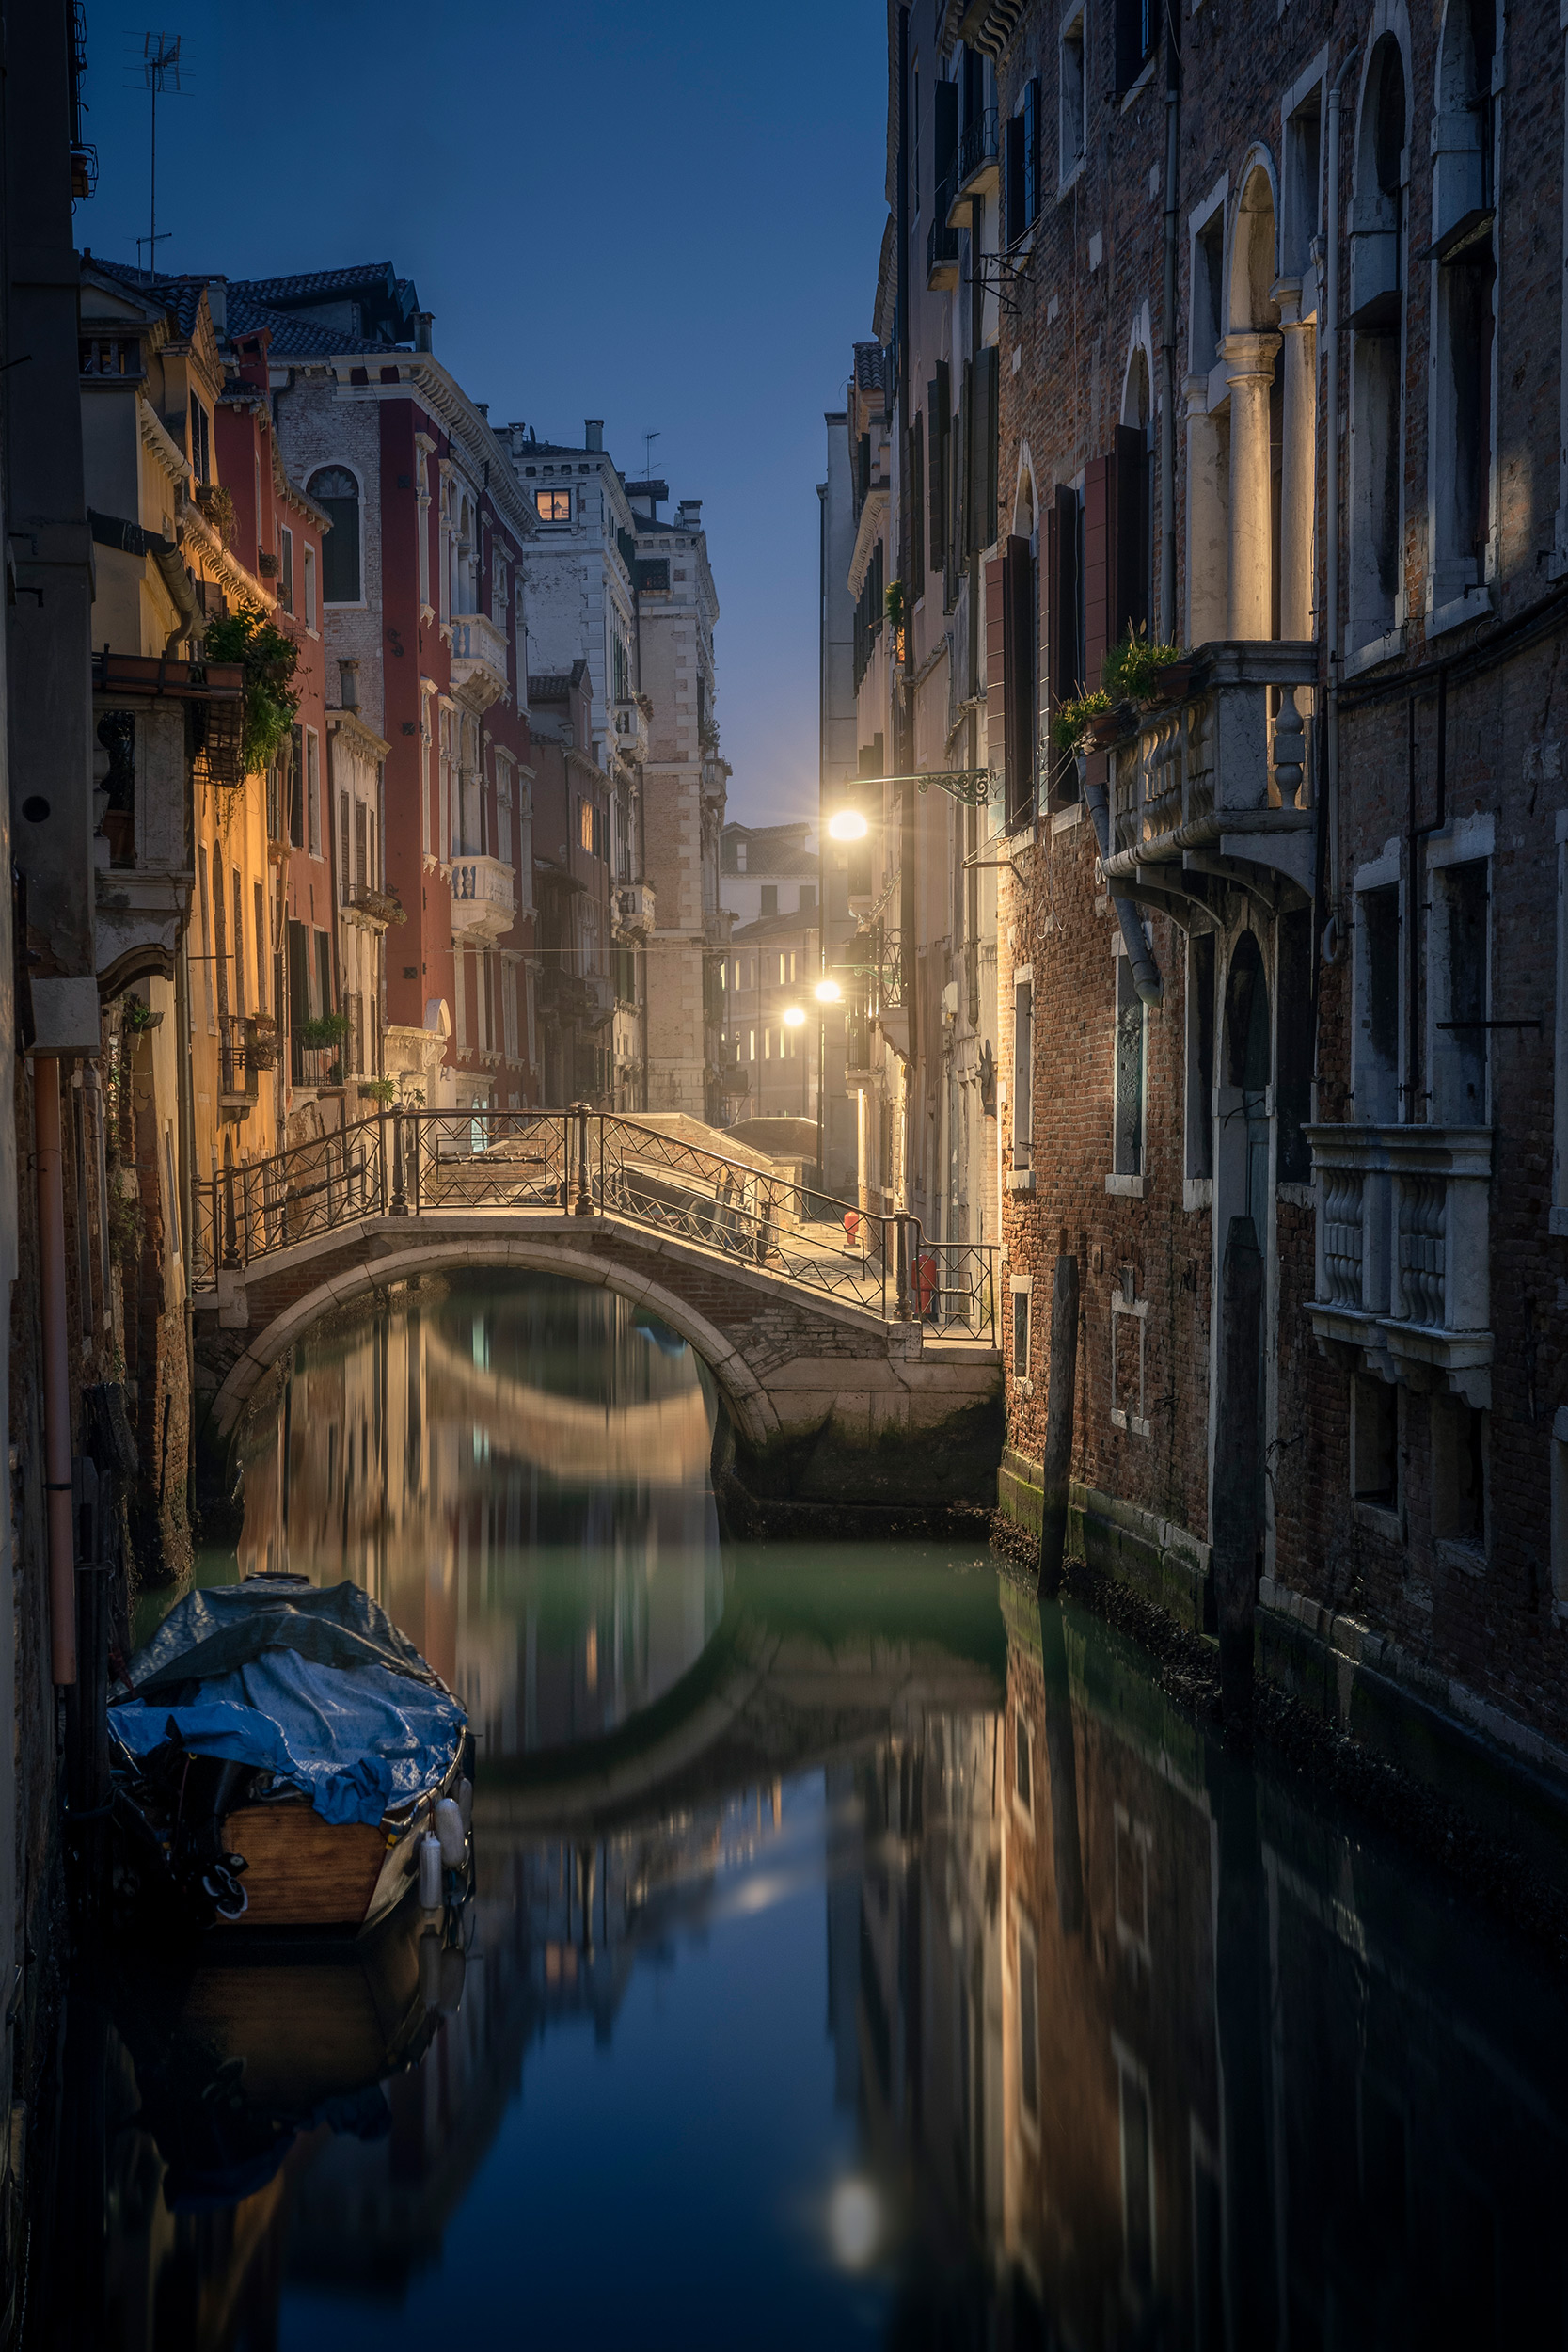
Wake Up Early and Stay Up Late
Most tourists shoot in harsh midday light with deep shadows and crowds. Instead, get up early to beat the crowds – photograph iconic buildings in warm, golden light with long shadows, free from crowds of people.
After sunset, embrace the night and discover local venues that tourists often overlook. This approach reveals authentic cultural moments and creates more meaningful memories.
 © İlhan Eroğlu | Sony α6600 + FE 16-55mm f/2.8 G | 1/30s @ f/7.1, ISO 200
Extra Power [and Storage]
Beyond the camera and lenses, pack the essentials. Extra NP-FZ100 batteries (or NP-BX1 for ZV1 II) are vital for long days, but don’t forget a USB power bank as this also be used to charge your camera and smartphone.
 © Alice Greenfield | Sony α7 IV + FE 40mm f/2.5 G | 1/640s @ f/2.5, ISO 80
Creators’ App + GPS
The Sony Creators’ App enables phone preview and remote shooting functions (essential for selfies and vlogs) and adds valuable location data to your images. To enable GPS, select your camera in the app, navigate to Setup > Location Information Linkage and switch it on. A GPS icon will appear on your camera screen when linked. This will help simplify image organising and cataloguing in image library software like Lightroom.
Camera Care
Keep your camera sensor clean in dusty environments by changing lenses indoors or in the shelter of your camera bag. Remove sensor dust using MENU → Setup → Anti-dust Function → Sensor Cleaning and always pack a cloth and a dust blower.
Clear plastic sandwich bags can prevent condensation from forming inside your camera when transitioning between air-conditioned and humid environments. Keep the camera in a sealed bag for approximately 15 minutes when transitioning between these environments. Additionally, you can add silica gel sachets to the sealed bag to absorb excess moisture from the air.
These bags also provide emergency rain protection during unexpected summer showers, dust storms or events like Holi Festival.
 © Stijn Dijkstra | Sony α7 IV + FE 16mm f/1.8 G | 1/200s @ f/7.1, ISO 100
Don't Over Pack!
Always leave room in camera bags, especially when flying. Tightly packed equipment can press against each other and get damaged. To prevent this always travel with lens caps on and camera screens facing inward.
Remember, the best camera is the one you have with you, so pack smart and stay ready for those unexpected moments that create the most memorable travel photographs.
Summary
- Protect your sensor from dust: Change lenses inside or in your camera bag
- Beat the crowds: Get up early to photograph iconic locations without people
- Create unique perspectives: Shoot from ground level or elevate yourself rather than eye-level shots
- Use GPS tagging: Enable Location Information Linkage in the Creators’ App for easy image cataloguing
- Prevent condensation: Keep cameras in sealed plastic bags when moving between air-conditioned and humid environments
- Pack extra power: Carry spare NP-FZ100 batteries or USB power banks for in-camera charging.
- Add foreground interest: Use plants, signs or street furniture to add depth to compositions.
- Pack smart for flights: Leave a little room in camera bags and always use lens caps.