Top Tips: Custom Buttons and Menus on Your Sony Alpha
Sony Alpha cameras are packed with features but going through a menu system whilst in the middle of shooting can be time-consuming and cause you to miss the shot. By using the custom buttons and menus, you bring the settings you use most to an easy-to-access location, allowing you to make quick changes and get the shots you need.
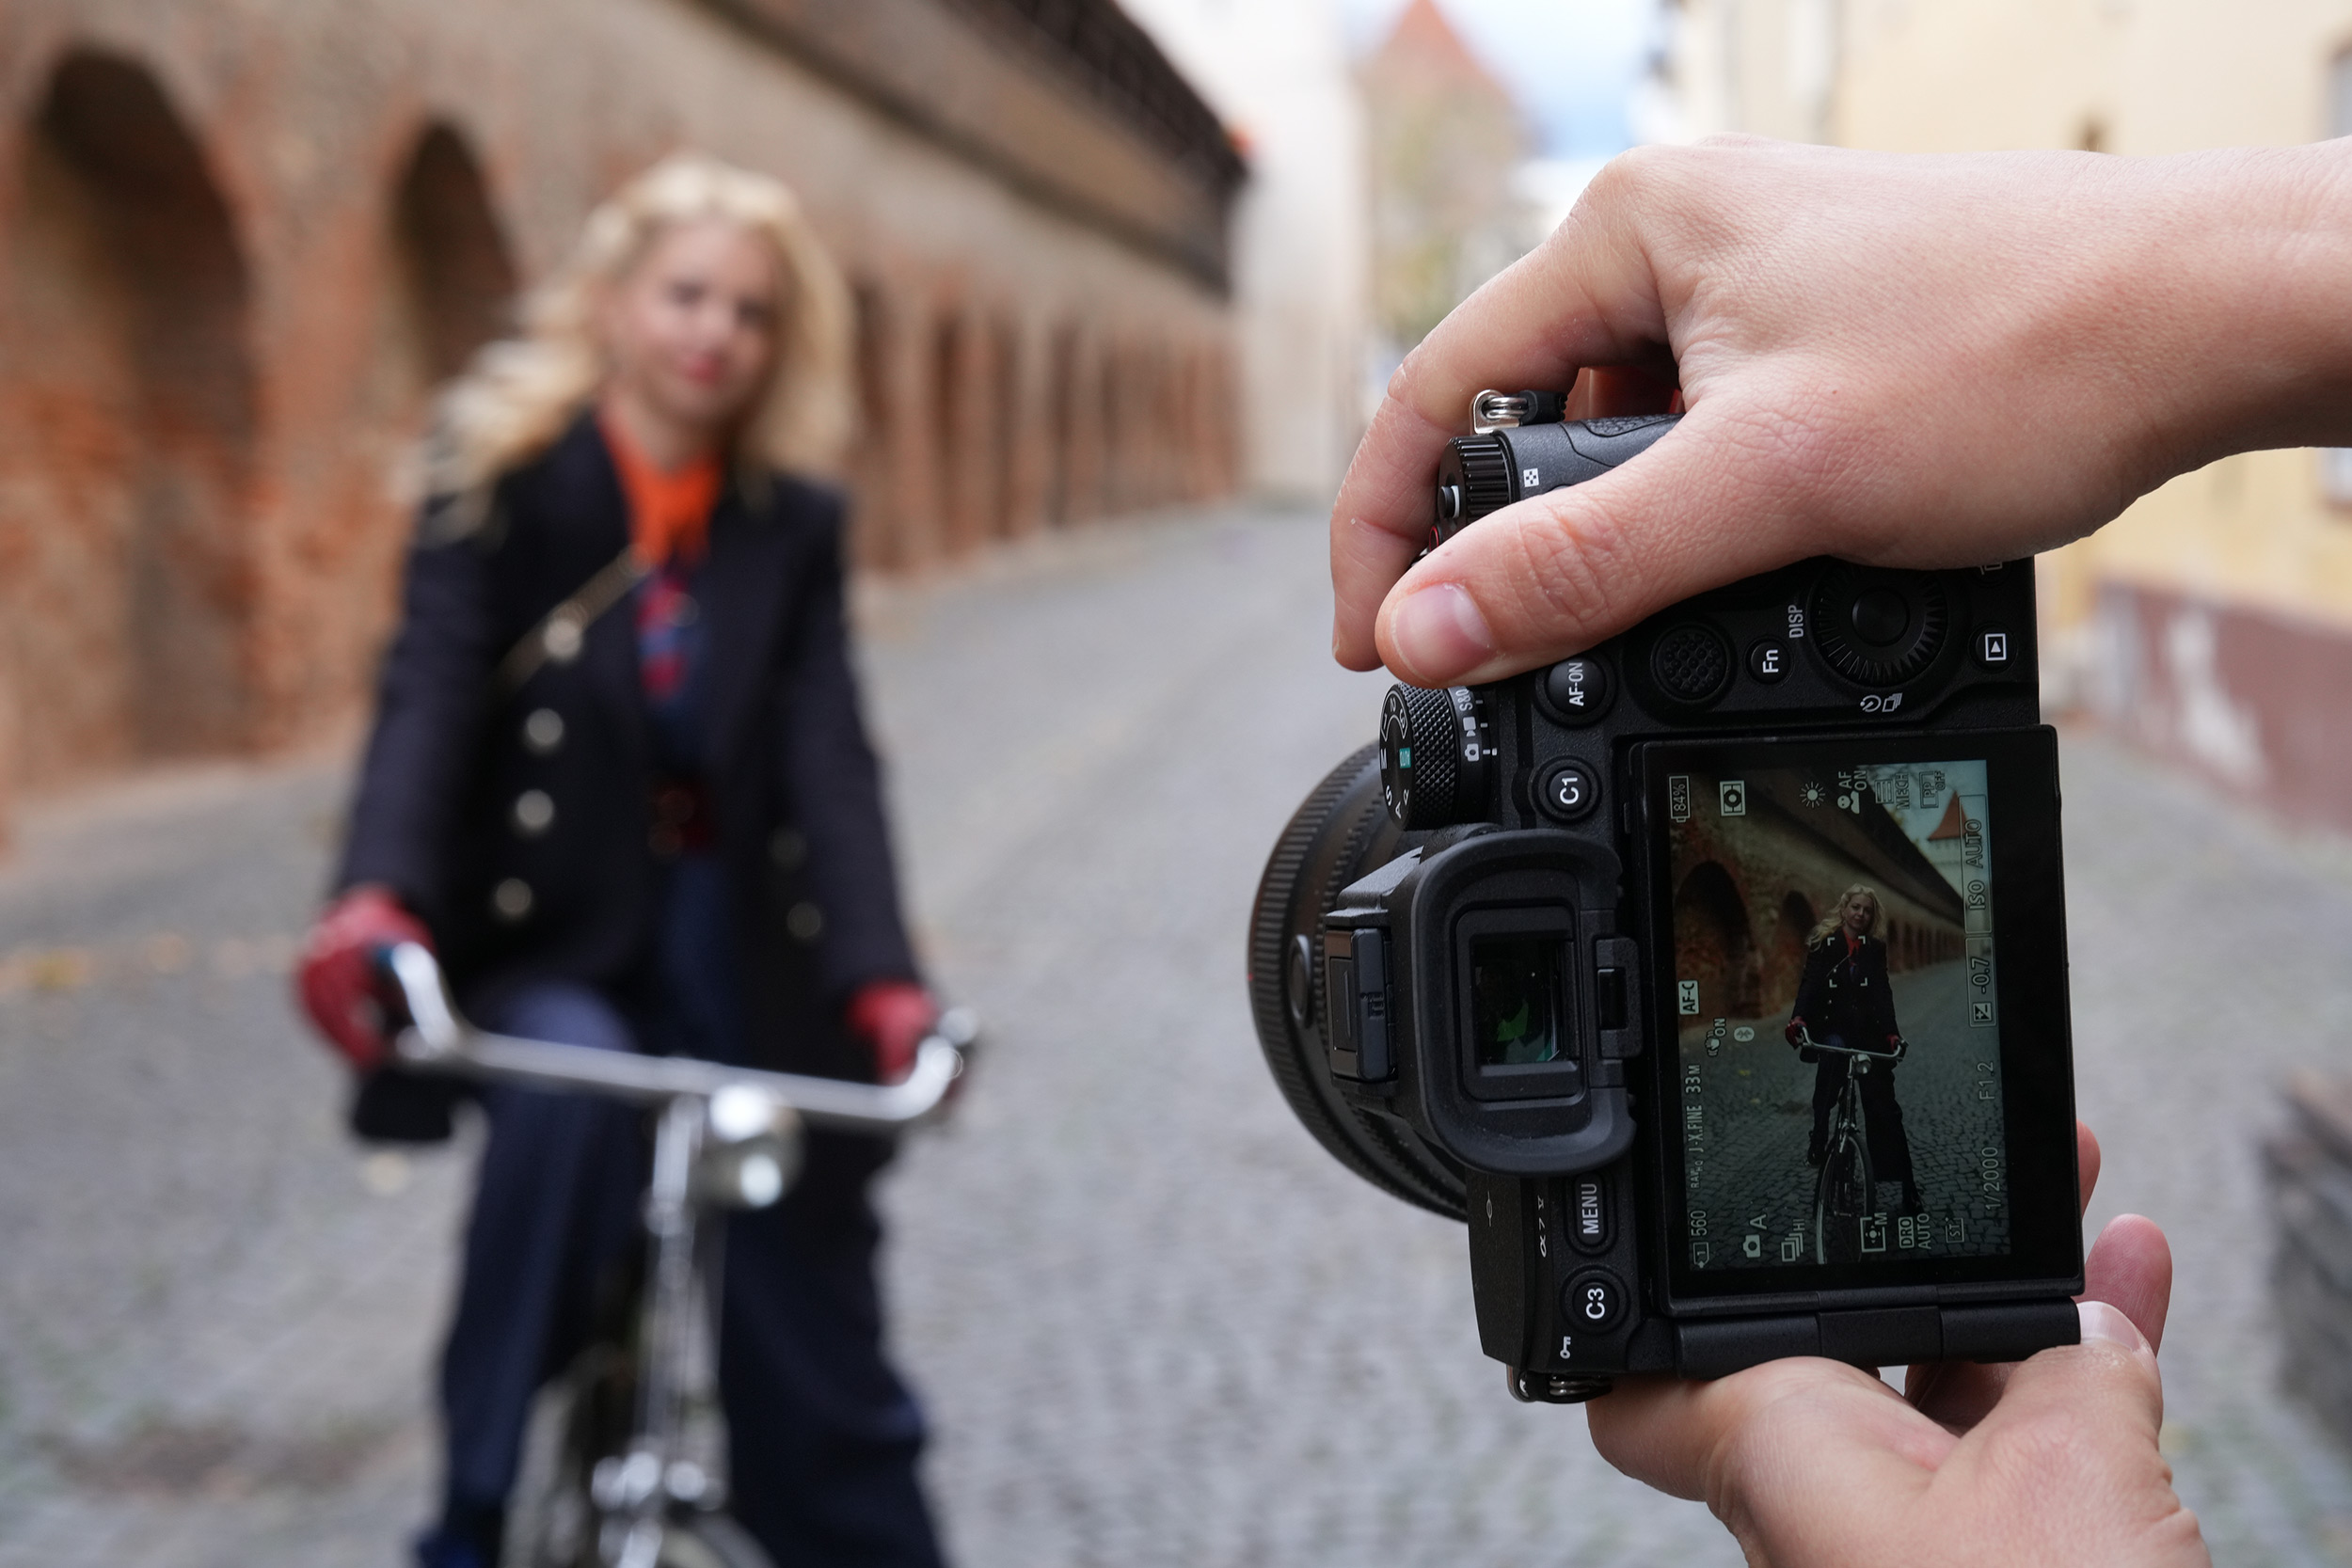 © Mihaela Noroc | Sony α7R V + FE 24-70mm f/2.8 GM II | 1/125s @ f/11, ISO 1000
My Menu
The first place to start should be My Menu (Setup > My Menu). This allows you to build your own personal menu from any of the options in the camera’s comprehensive list of settings and features. All the settings that you find you regularly use should be added here; it could be Picture Profiles, Custom White Balance, switching from Full Frame to Super-35mm mode, Silent Mode, Subject Detection, card formatting, WiFi settings - think of the items that you regularly go into the menu to change and add these to your My Menu. You can add up to 30 items to the My Menu, and you can even set it so that it is the default opening page when you press your camera Menu button
Fn Menu
In a similar vein to the My Menu, the Function Menu is accessed by pressing the Fn Button on the rear of your Sony camera. This opens a grid of up to 12 items, which are displayed on the rear of the camera on the shooting screen. It is great for changing shooting settings, and if you have a camera with a touchscreen, you can easily tap the item on the grid you want to change.
The Fn Menu can be customised by going to Setup > Operation Customise > Fn Menu Settings. The best settings to use in this menu are usually those you would want to change whilst in the middle of shooting, for example, White Balance, Drive Mode, Creative Style, Metering, and Subject Recognition. The default setup that comes with the camera covers most of these, but you may want to tweak it if you think there would be better options for your photography.
Photo and Video
On most contemporary Sony cameras, the same physical button can be set to perform a different function depending on whether you are shooting in photo or video mode. Go to Setup > Operation Customise > Custom Key/Dial Settings and select either the photo or movie tab. For example, C1 could trigger Eye AF in Photo mode but toggle the Zebra display on and off when shooting video.
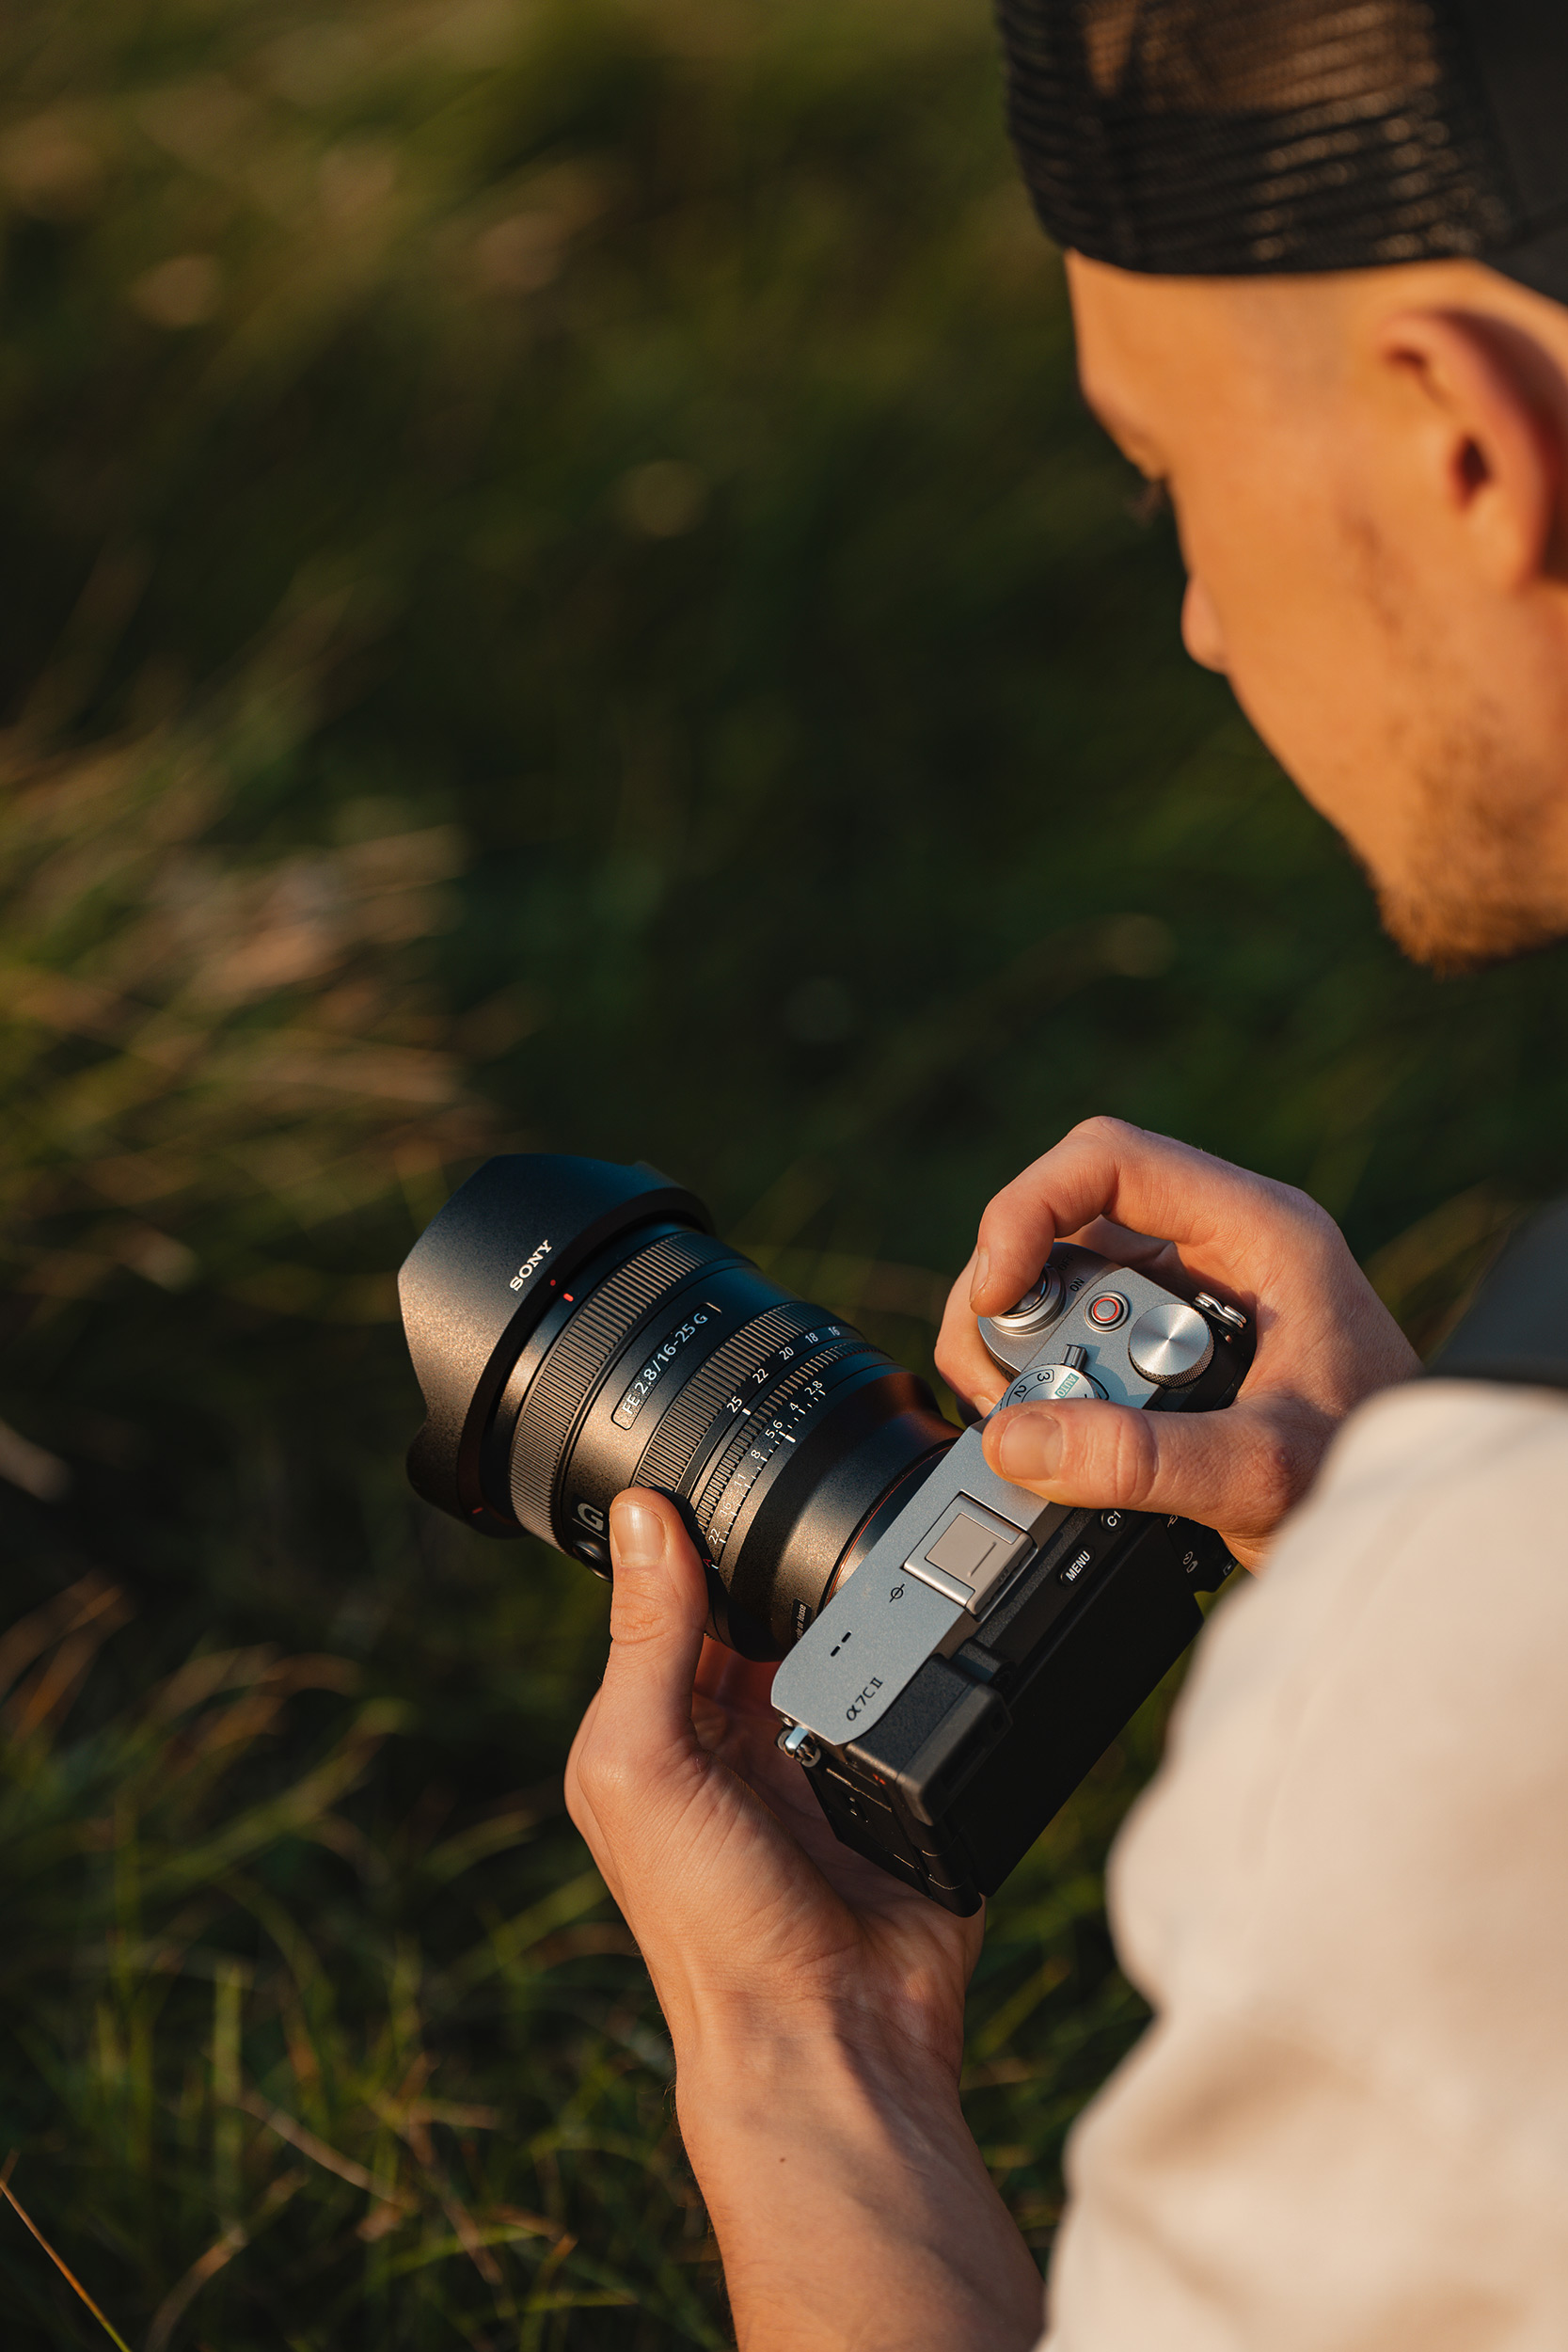 © Bit Sever | Sony α7R V + FE 70-200mm f/2.8 GM OSS II | 1/400s @ f/4.0, ISO 100
C1 and C2
The C1 and C2 buttons are the key custom buttons on a Sony camera, and they are roughly in the same place on every camera. The reason for their importance is that they can be easily pressed whilst using the viewfinder; the C1 button is in a great position to be easily pressed with your thumb, and the C2 button is close to the shutter button, so it is easy to press with your forefinger.
These buttons should be for the two settings you may want to change whilst in the middle of shooting, when you can’t take your eye off the viewfinder. The most common use for at least one of these buttons is to change an AF setting, perhaps to switch from Wide Area Tracking to a smaller Flexible Spot. Similarly, it can be used to change exposure metering quickly for a particular shot. Other photographers may use one of these two buttons to turn Silent Shooting or Zebra Display on or off.
Again, how you set it is entirely up to you, so think about the times you have been shooting and needed to change a setting. How could using the C1 and C2 help to get the shots you want?
C3 and C4
There are two other dedicated Custom buttons found on most Sony cameras: C3, which is on the top left of the rear of the camera, and C4, which is on the bottom right and labelled the rubbish bin for deleting images in playback mode.
These buttons, particularly C4, can be harder to locate with your eye in the camera’s viewfinder, so they change features that are less important. One good use for it is to switch between full-sensor and APS-C/Super35mm crop modes to compose images perfectly in camera. Those shooting photos or videos indoors under LED lights may want to turn Anti-Flicker settings on or off.
Other Buttons
It isn’t only the Custom buttons that can be customised; many of the other buttons can be set to a different function. The AF-On, AEL, and Record buttons can be assigned new functions, as can the rear directional control.
Saving Your Setup
Once you have your custom buttons set up exactly as you need them, you can save the button placements, as well as exposure, AF and drive settings, to a numbered memory position on the camera’s Mode Dial. Usually, 2 or 3 different setups can be saved, so you could have one for shooting wildlife and another for shooting landscapes, or one for vlogging and one for filming in a studio - just switch between the different settings on the dial.
You can also save your settings to an SD card so that they can be loaded to another camera, provided it is in the same mode. For example, as a professional wedding photographer or filmmaker, you may have two, even three cameras. Go to Setup > Save/Load Settings > Save, then insert the card into the second camera and select Load to transfer the settings.
You can even use the Creators App to save up to 50 different camera setups. Here they are saved in the cloud and can always be applied to a camera from the app. This allows you to have access to different setups for many types of photography - you’ll just have to remember what each button does!