
Top Tips: Shooting Sunrise
With warmer mornings and fewer people around, summer is an ideal time to photograph the sunrise. However, aside from setting an alarm clock, some planning is required. It’s essential to know exactly the scene you want to photograph and to arrive well before sunrise to set up your camera. In the early hours, it may still be dark, so it can be challenging to make out objects in the landscape. Visit during the day to determine precisely the shot you want to capture and where you should stand.
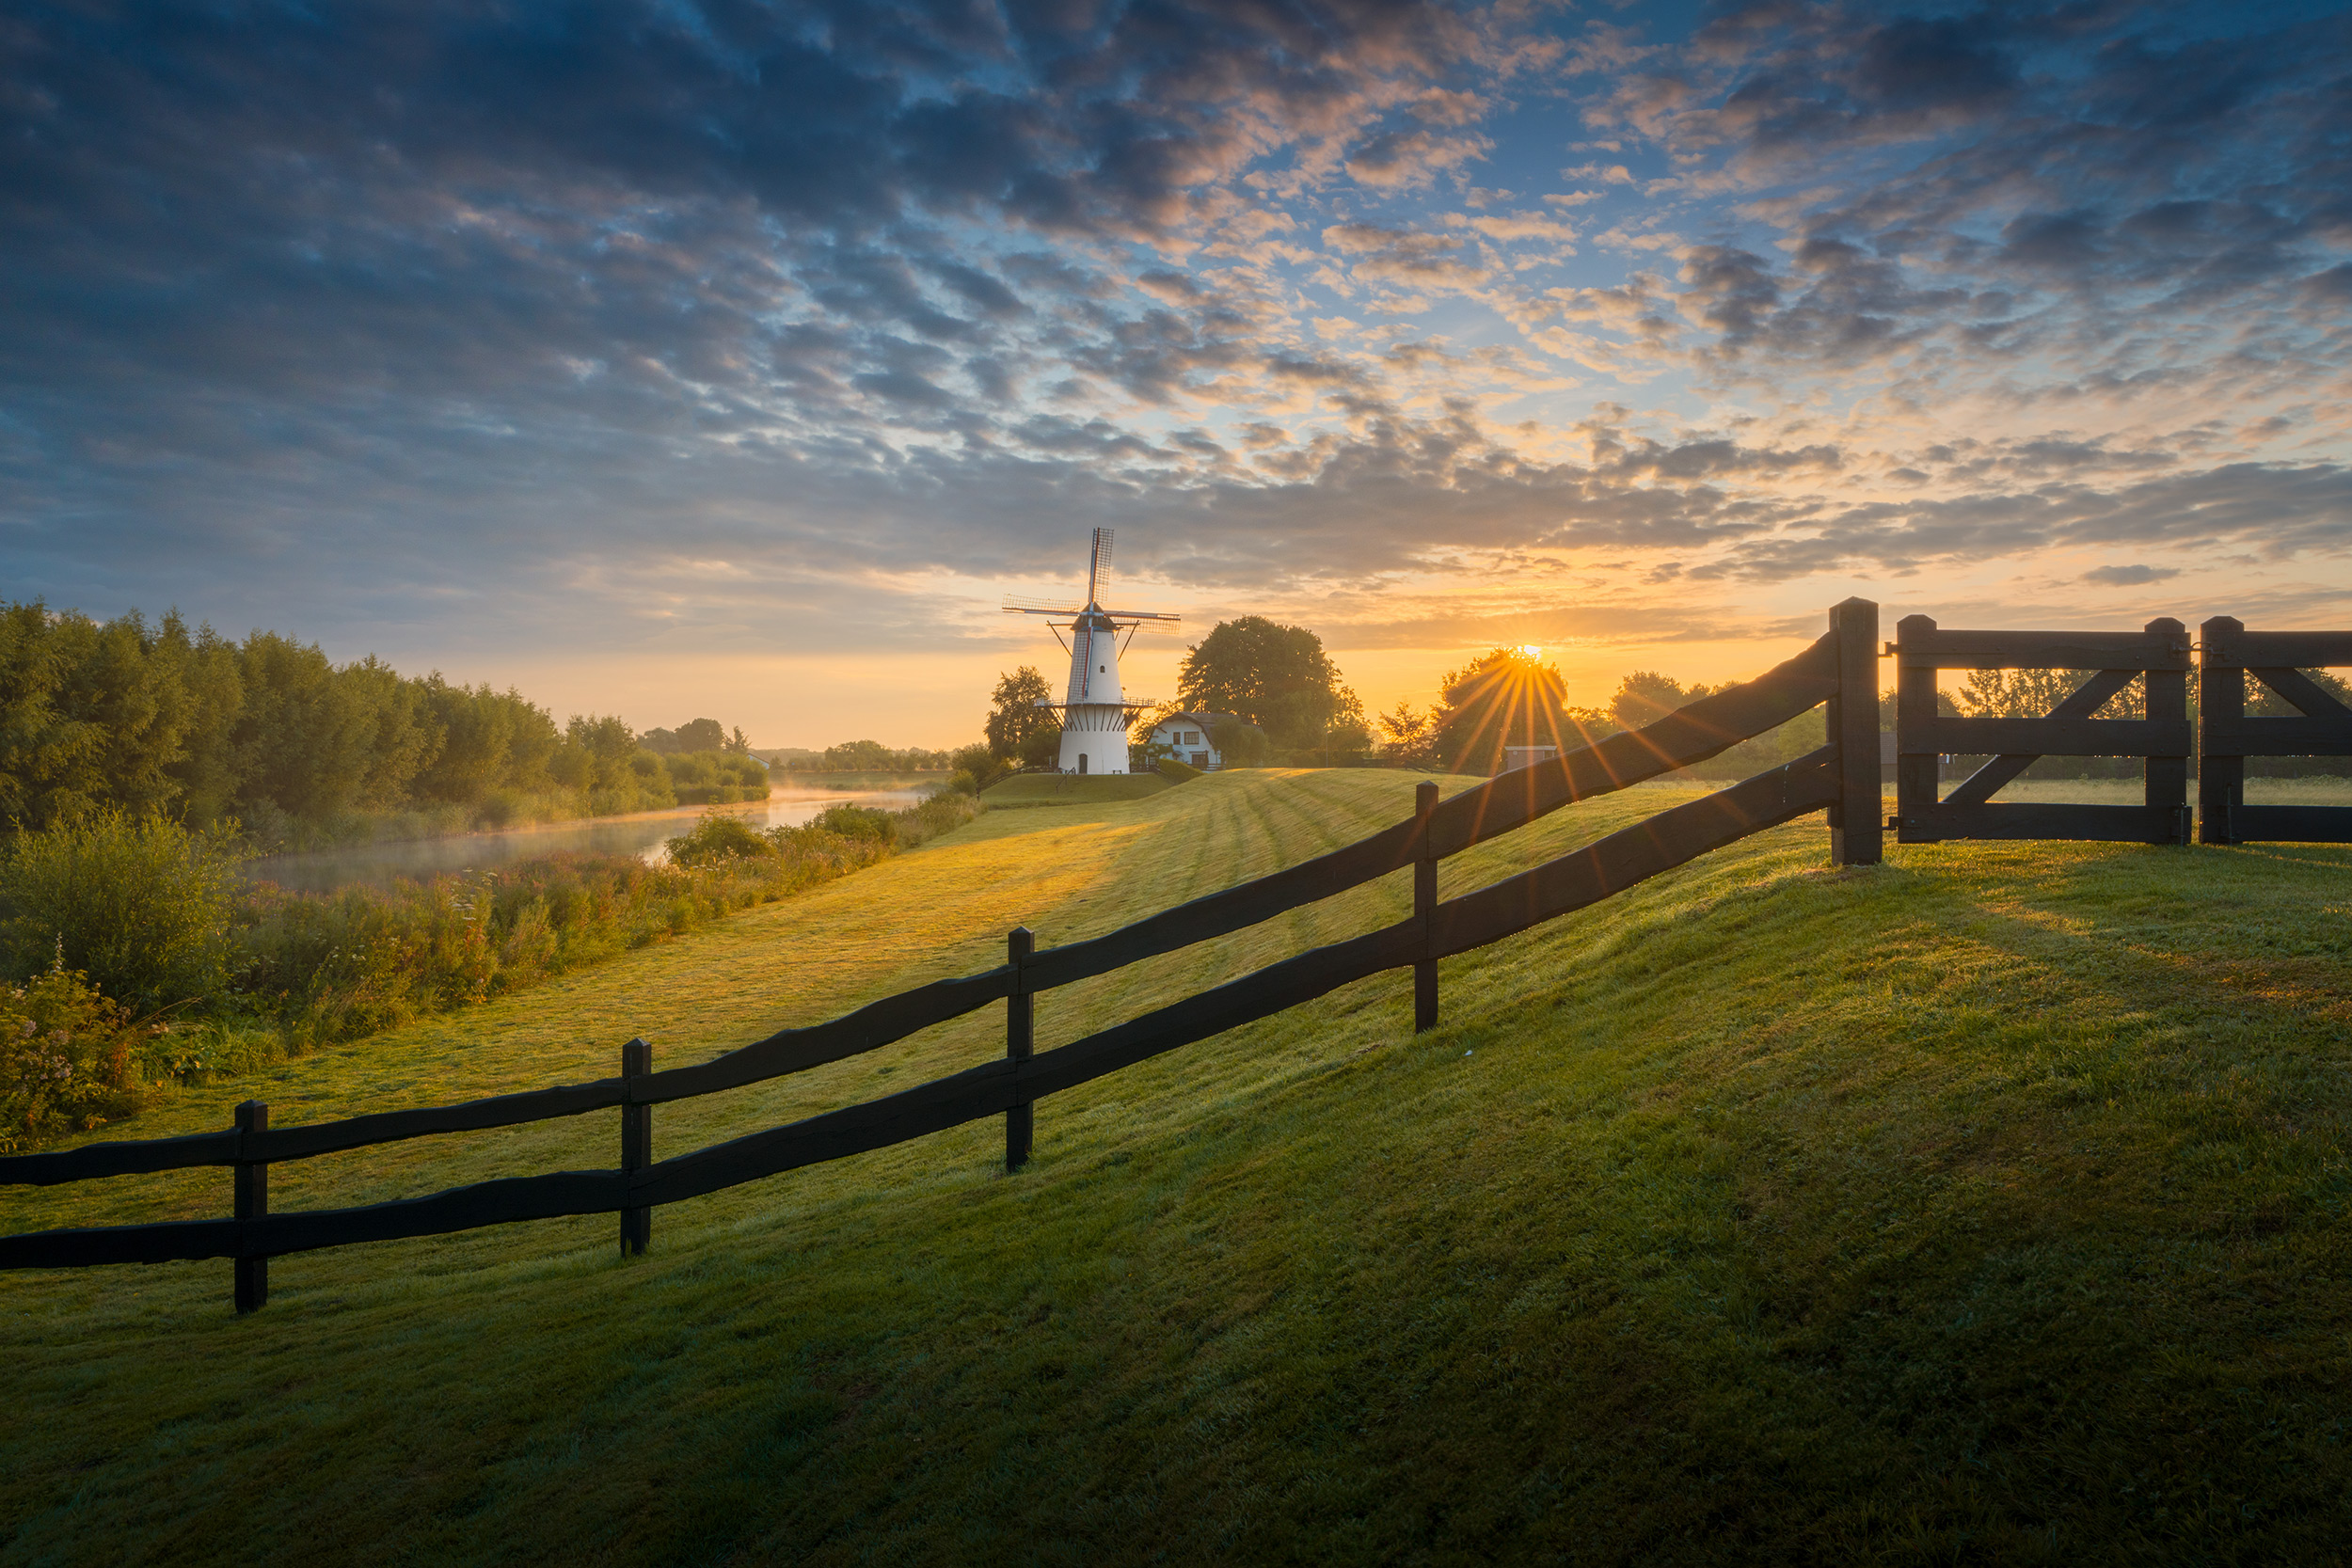 © Albert Dros | Sony α7R V + FE 16-35mm f/2.8 GM II | 1/640s @ f/22, ISO 200
If on holiday, or you can’t get to a location the day before, there are apps and websites that will allow you to see the exact location, direction and time that the sun will appear. These tools can help you envision your shot and even show you where mountains or trees may cast shadows.
Finally, remember that the best light is often just before or just after sunrise, so arrive early and stay for a while after the sun has risen above the horizon.
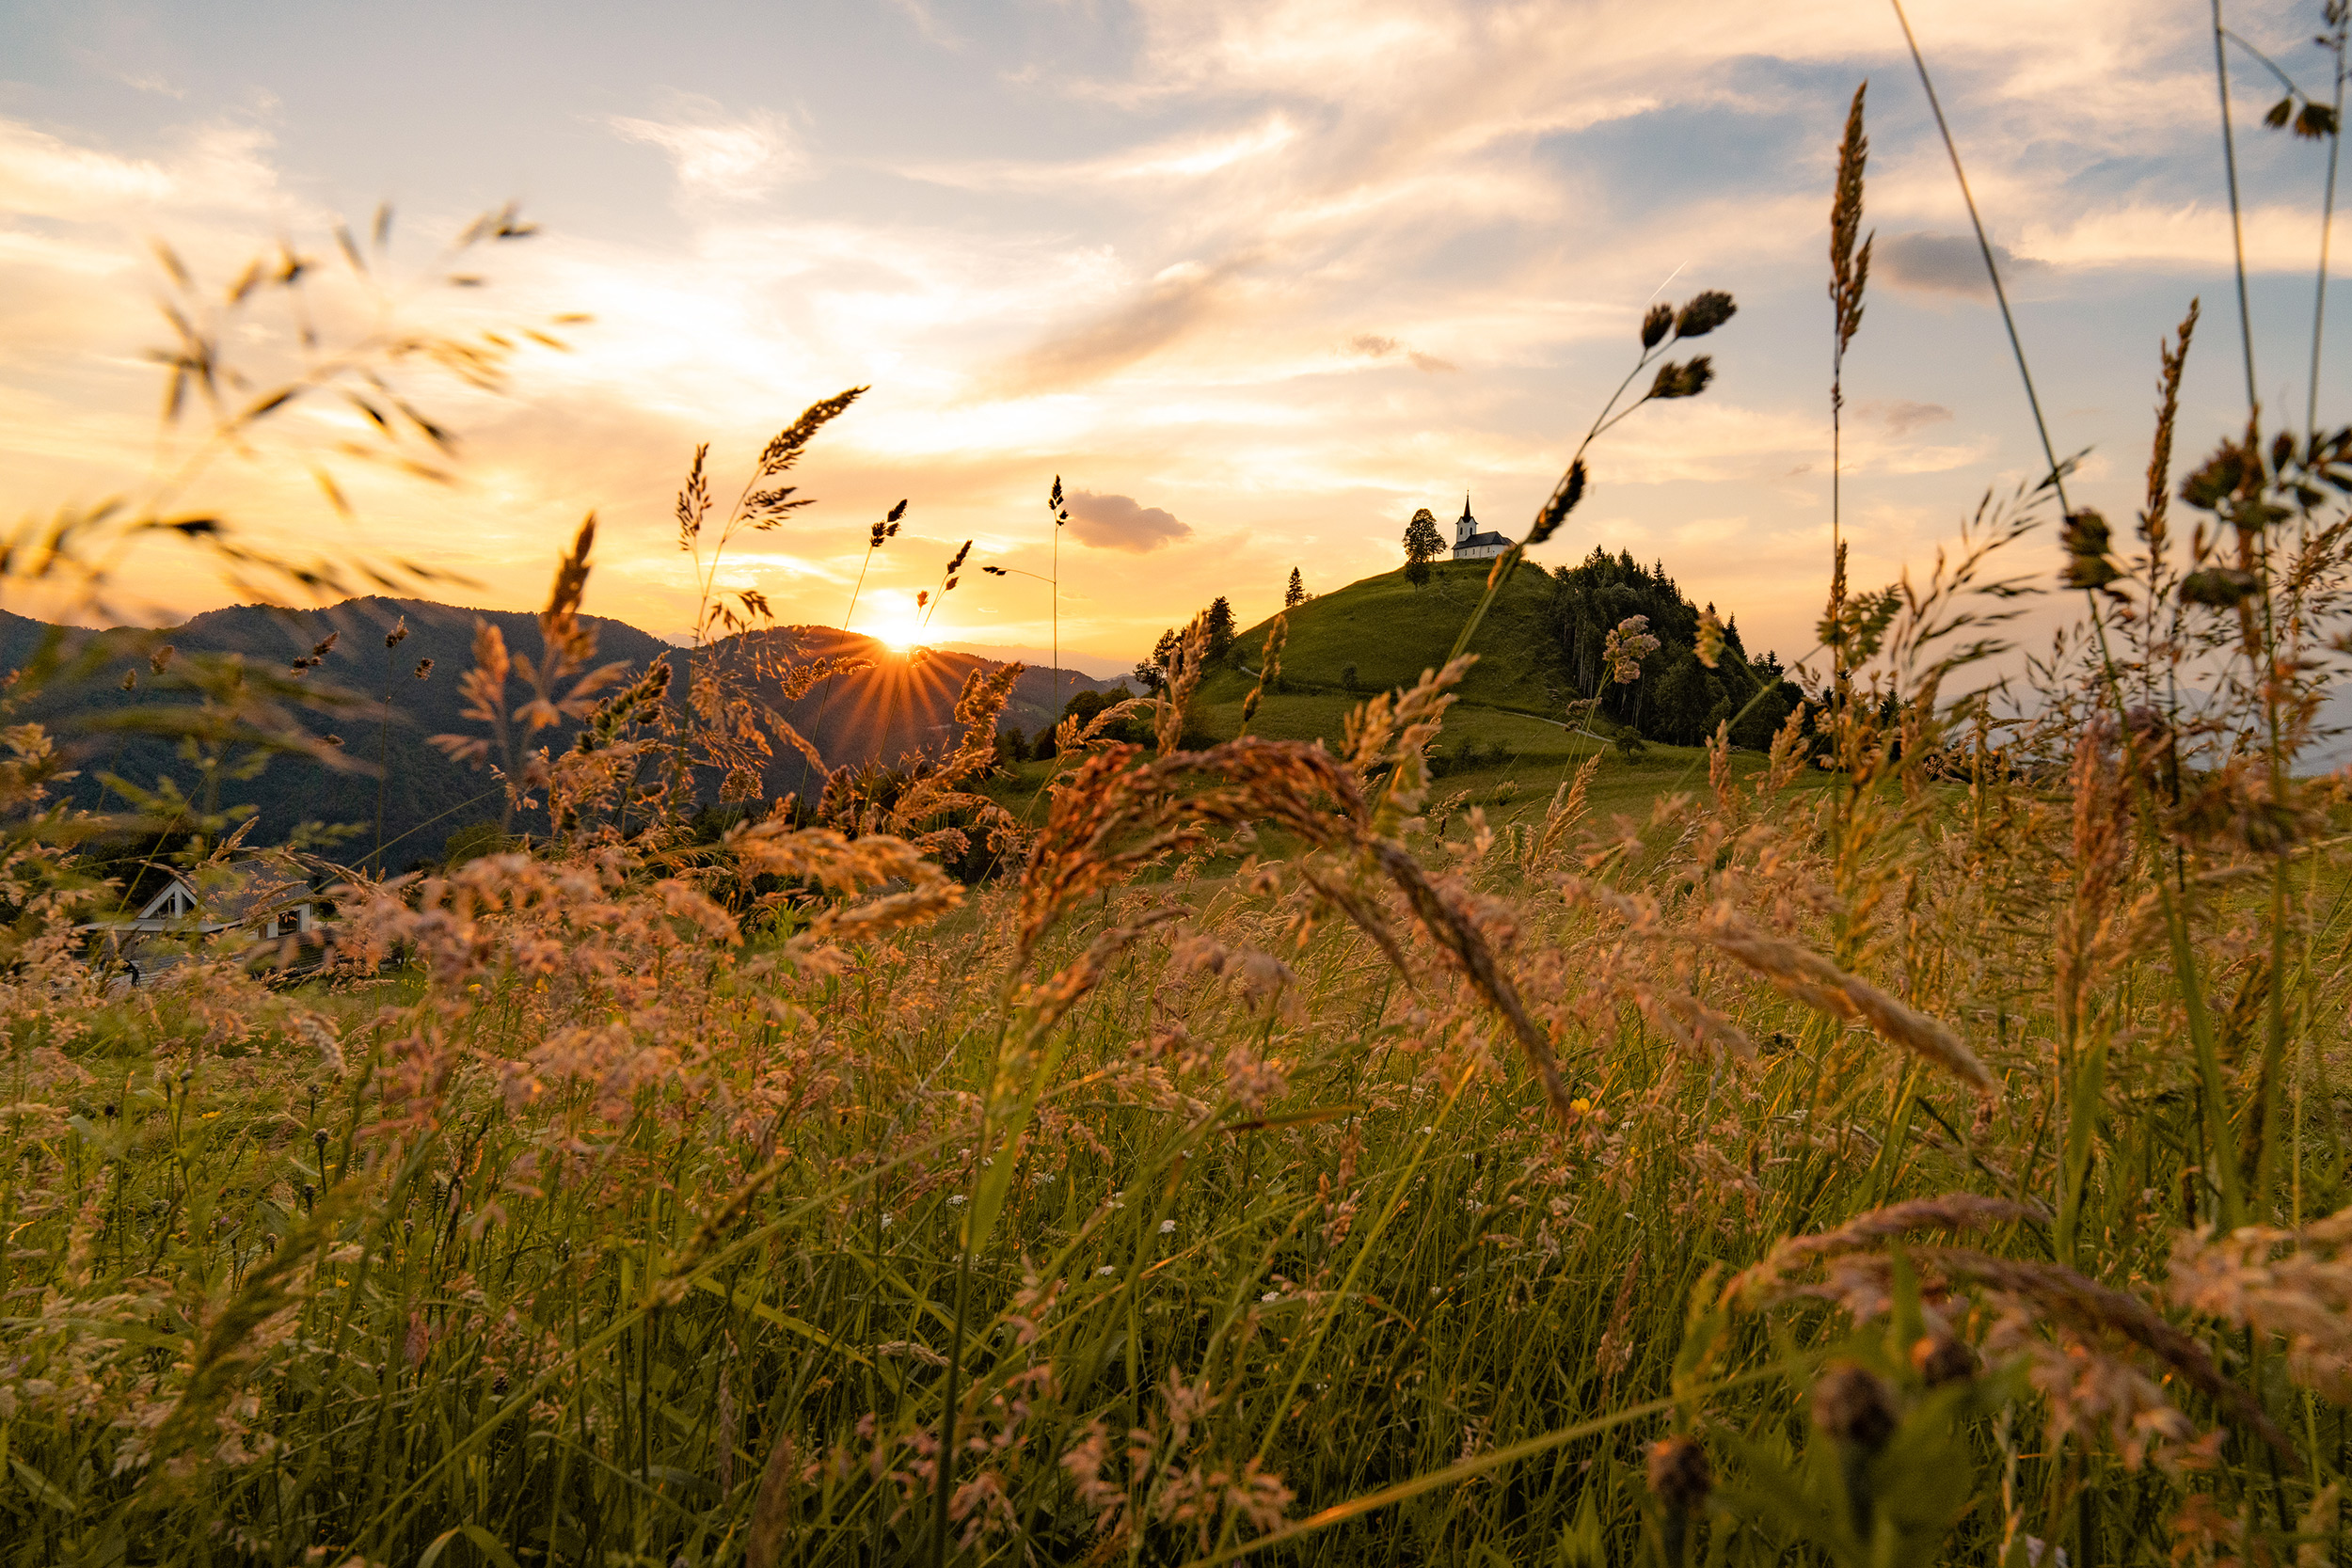 © Bit Sever | Sony α7R V + FE 16-25mm f/2.8 G | 1/200s @ f/11, ISO 1600
Camera and Kit
Any Sony camera will take great photos during sunrise, but for detailed landscapes and the dramatic lighting, you'll want a camera with a high-resolution sensor and excellent dynamic range. Two of the most popular choices for landscape shooters are the Sony Alpha 7R V, with its 61-million-pixel resolution and outstanding dynamic range, which is perfect for capturing every detail, and the Sony Alpha 7 IV as this offers an exceptional balance of resolution and performance with its 33-million-pixel sensor.
Lens choice depends on your composition, but wide-angle lenses are generally ideal for sunrise landscapes. The FE 16-35mm f/2.8 GM II offers sharpness across the frame, and its fast aperture helps in low-light conditions. Similarly, the FE 20mm f/1.8 G is an excellent fixed lens for edge-to-edge sharpness. And then there is the ever-versatile FE 24-70mm f/2.8 GM II, which offers the flexibility to isolate specific elements in your scene. If you’re on a budget, the FE 24mm f/2.8 G is an outstanding, lightweight option. Those with APS-C sensor cameras should consider the Sony E PZ 10-20mm f/4 G lens, which is ideal for those wide-angle shots with a 15-30mm equivalent field of view.
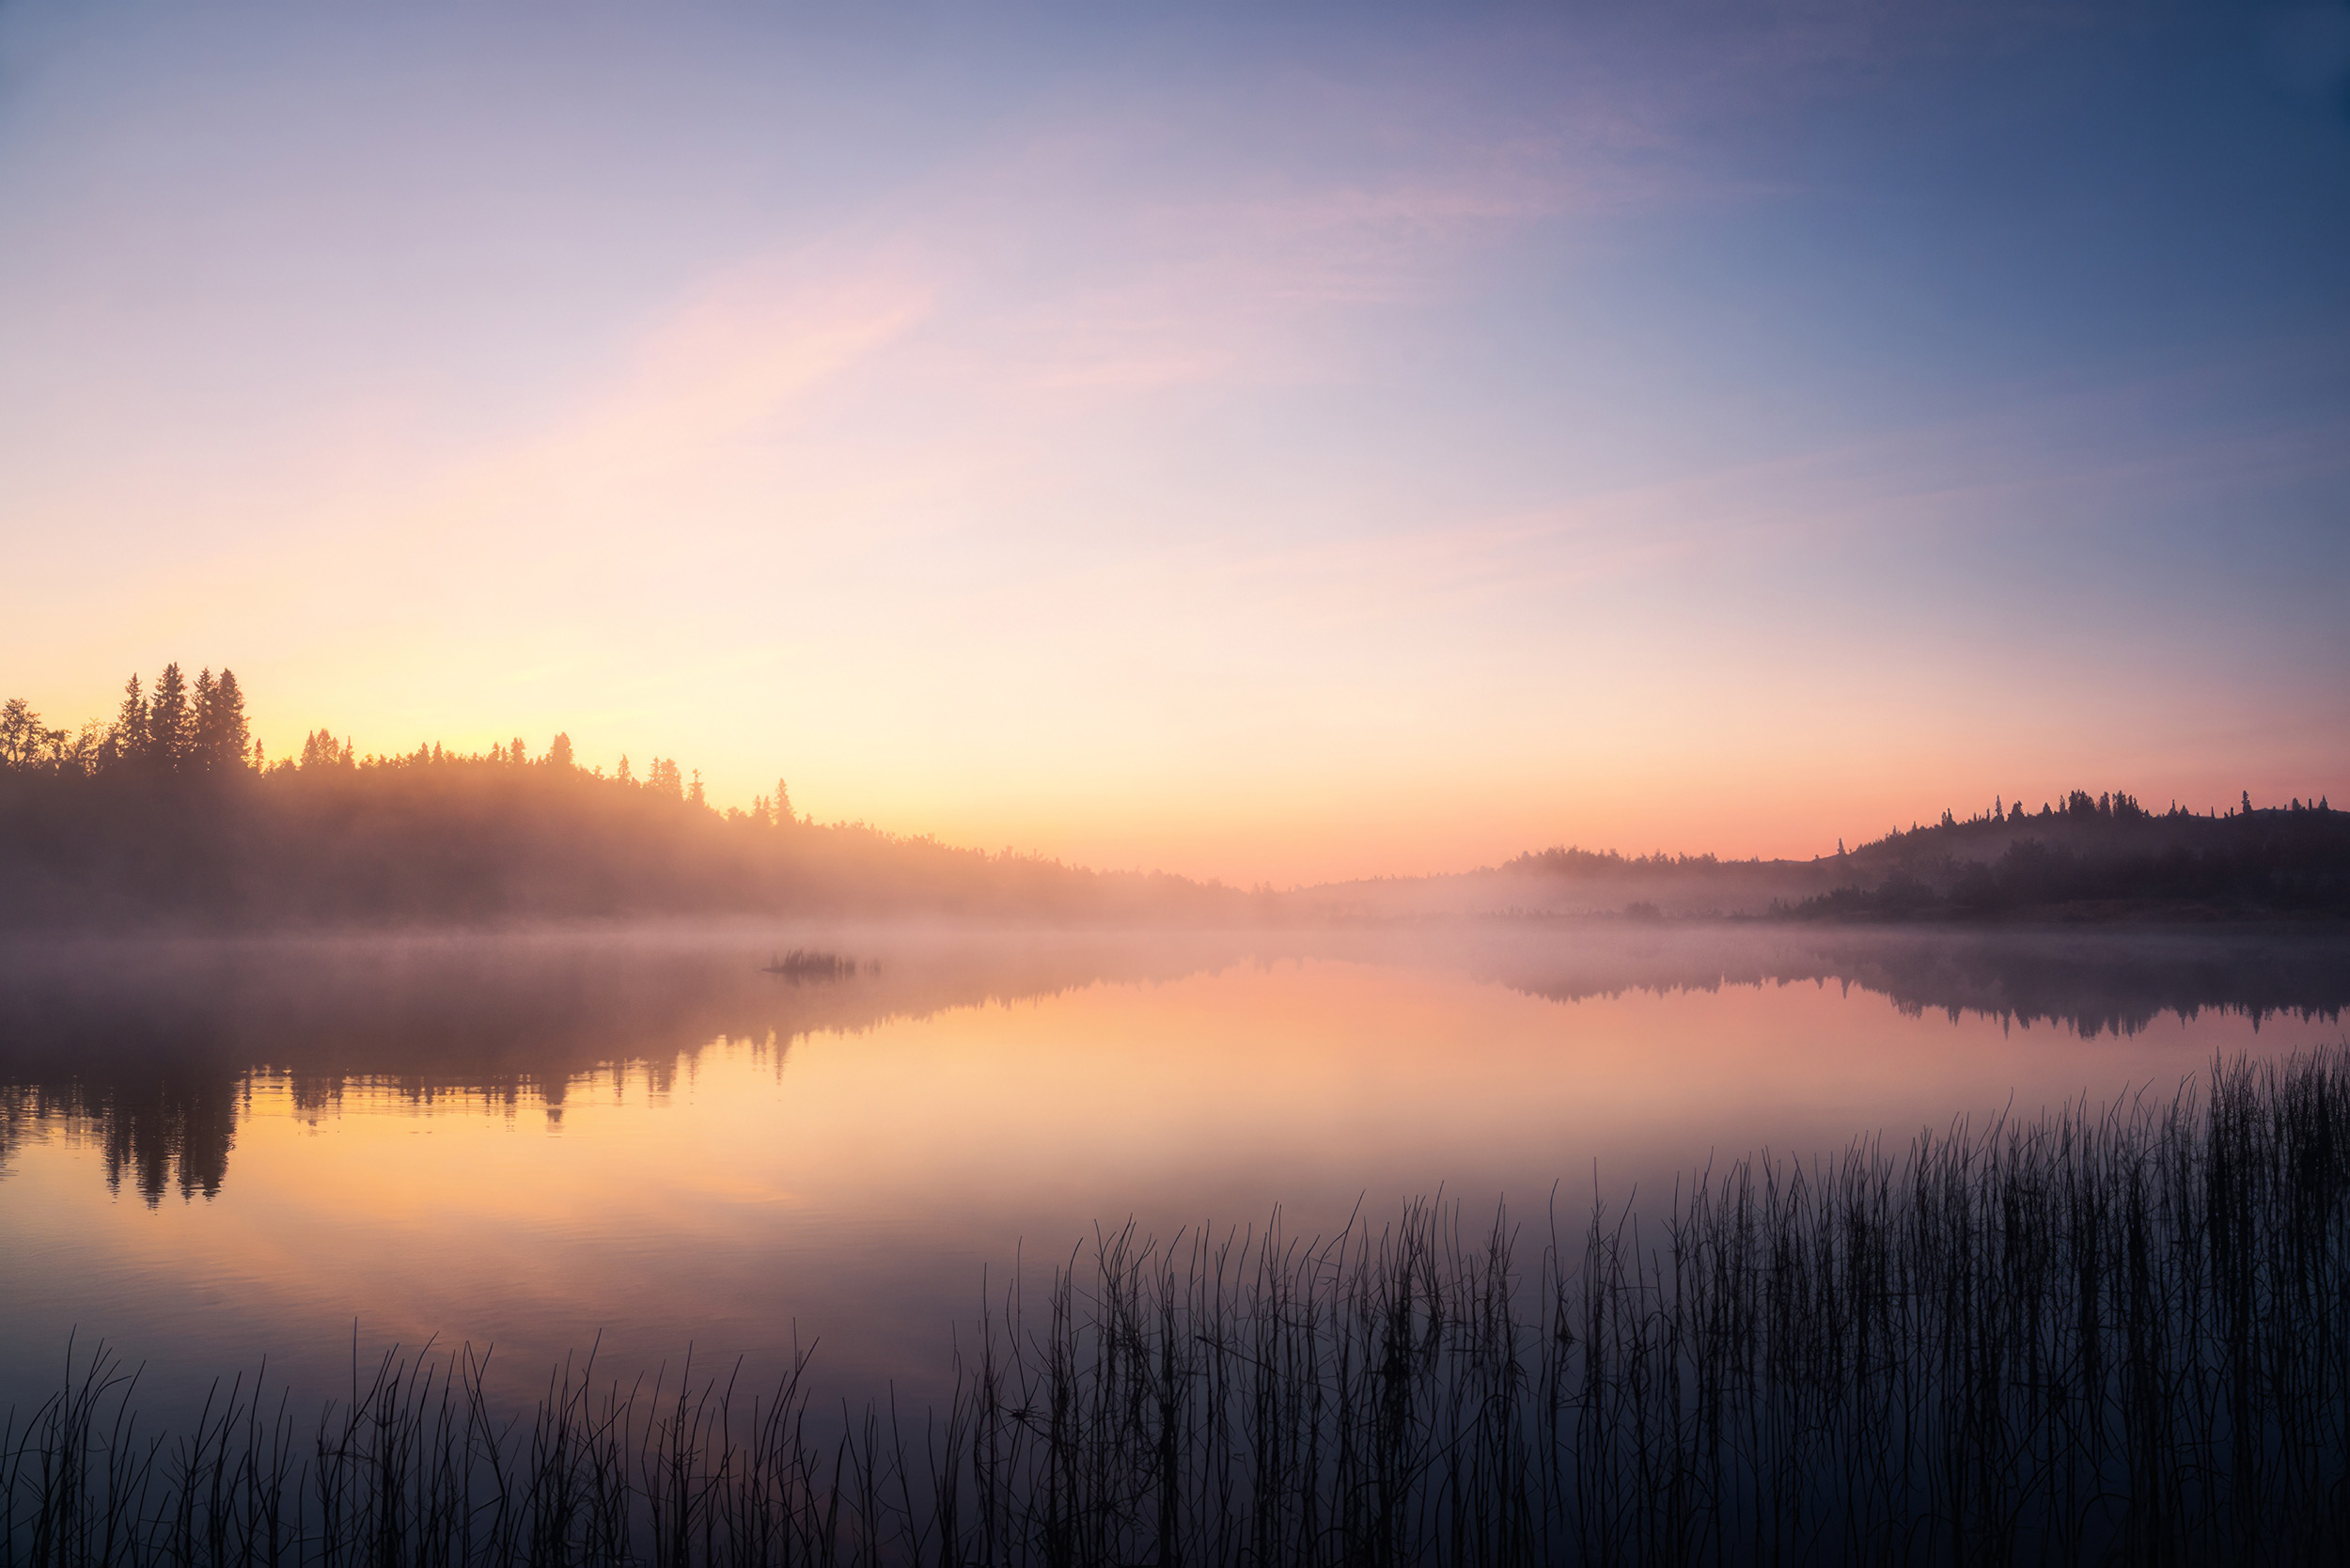 © Michael Schaake | Sony α1 + FE 24-105mm f/4 G OSS | 1/40s @ f/11, ISO 100
DRO+
Sunrise scenes present extreme dynamic range challenges, but Sony cameras offer excellent tools to handle this. The Dynamic Range Optimizer (DRO+) works by adjusting the exposure of your image slightly, to preserve highlight details, and then it lifts the shadows and midtones to create a balanced scene. Set the DRO+ level to between 3 and 5, depending on the amount of contrast in the scene and your personal preference. Or set it to Auto and let the camera decide. All effects will be applied to JPEG and HEIF images, leaving the raw file unaffected, should you wish to edit it later.
As an alternative, you can use Exposure Bracketing to shoot a series of raw images - for example, your usual exposure, a +2EV exposure and a -2EV exposure. These three images can then be combined in editing software to create a High Dynamic Range (HDR) image.
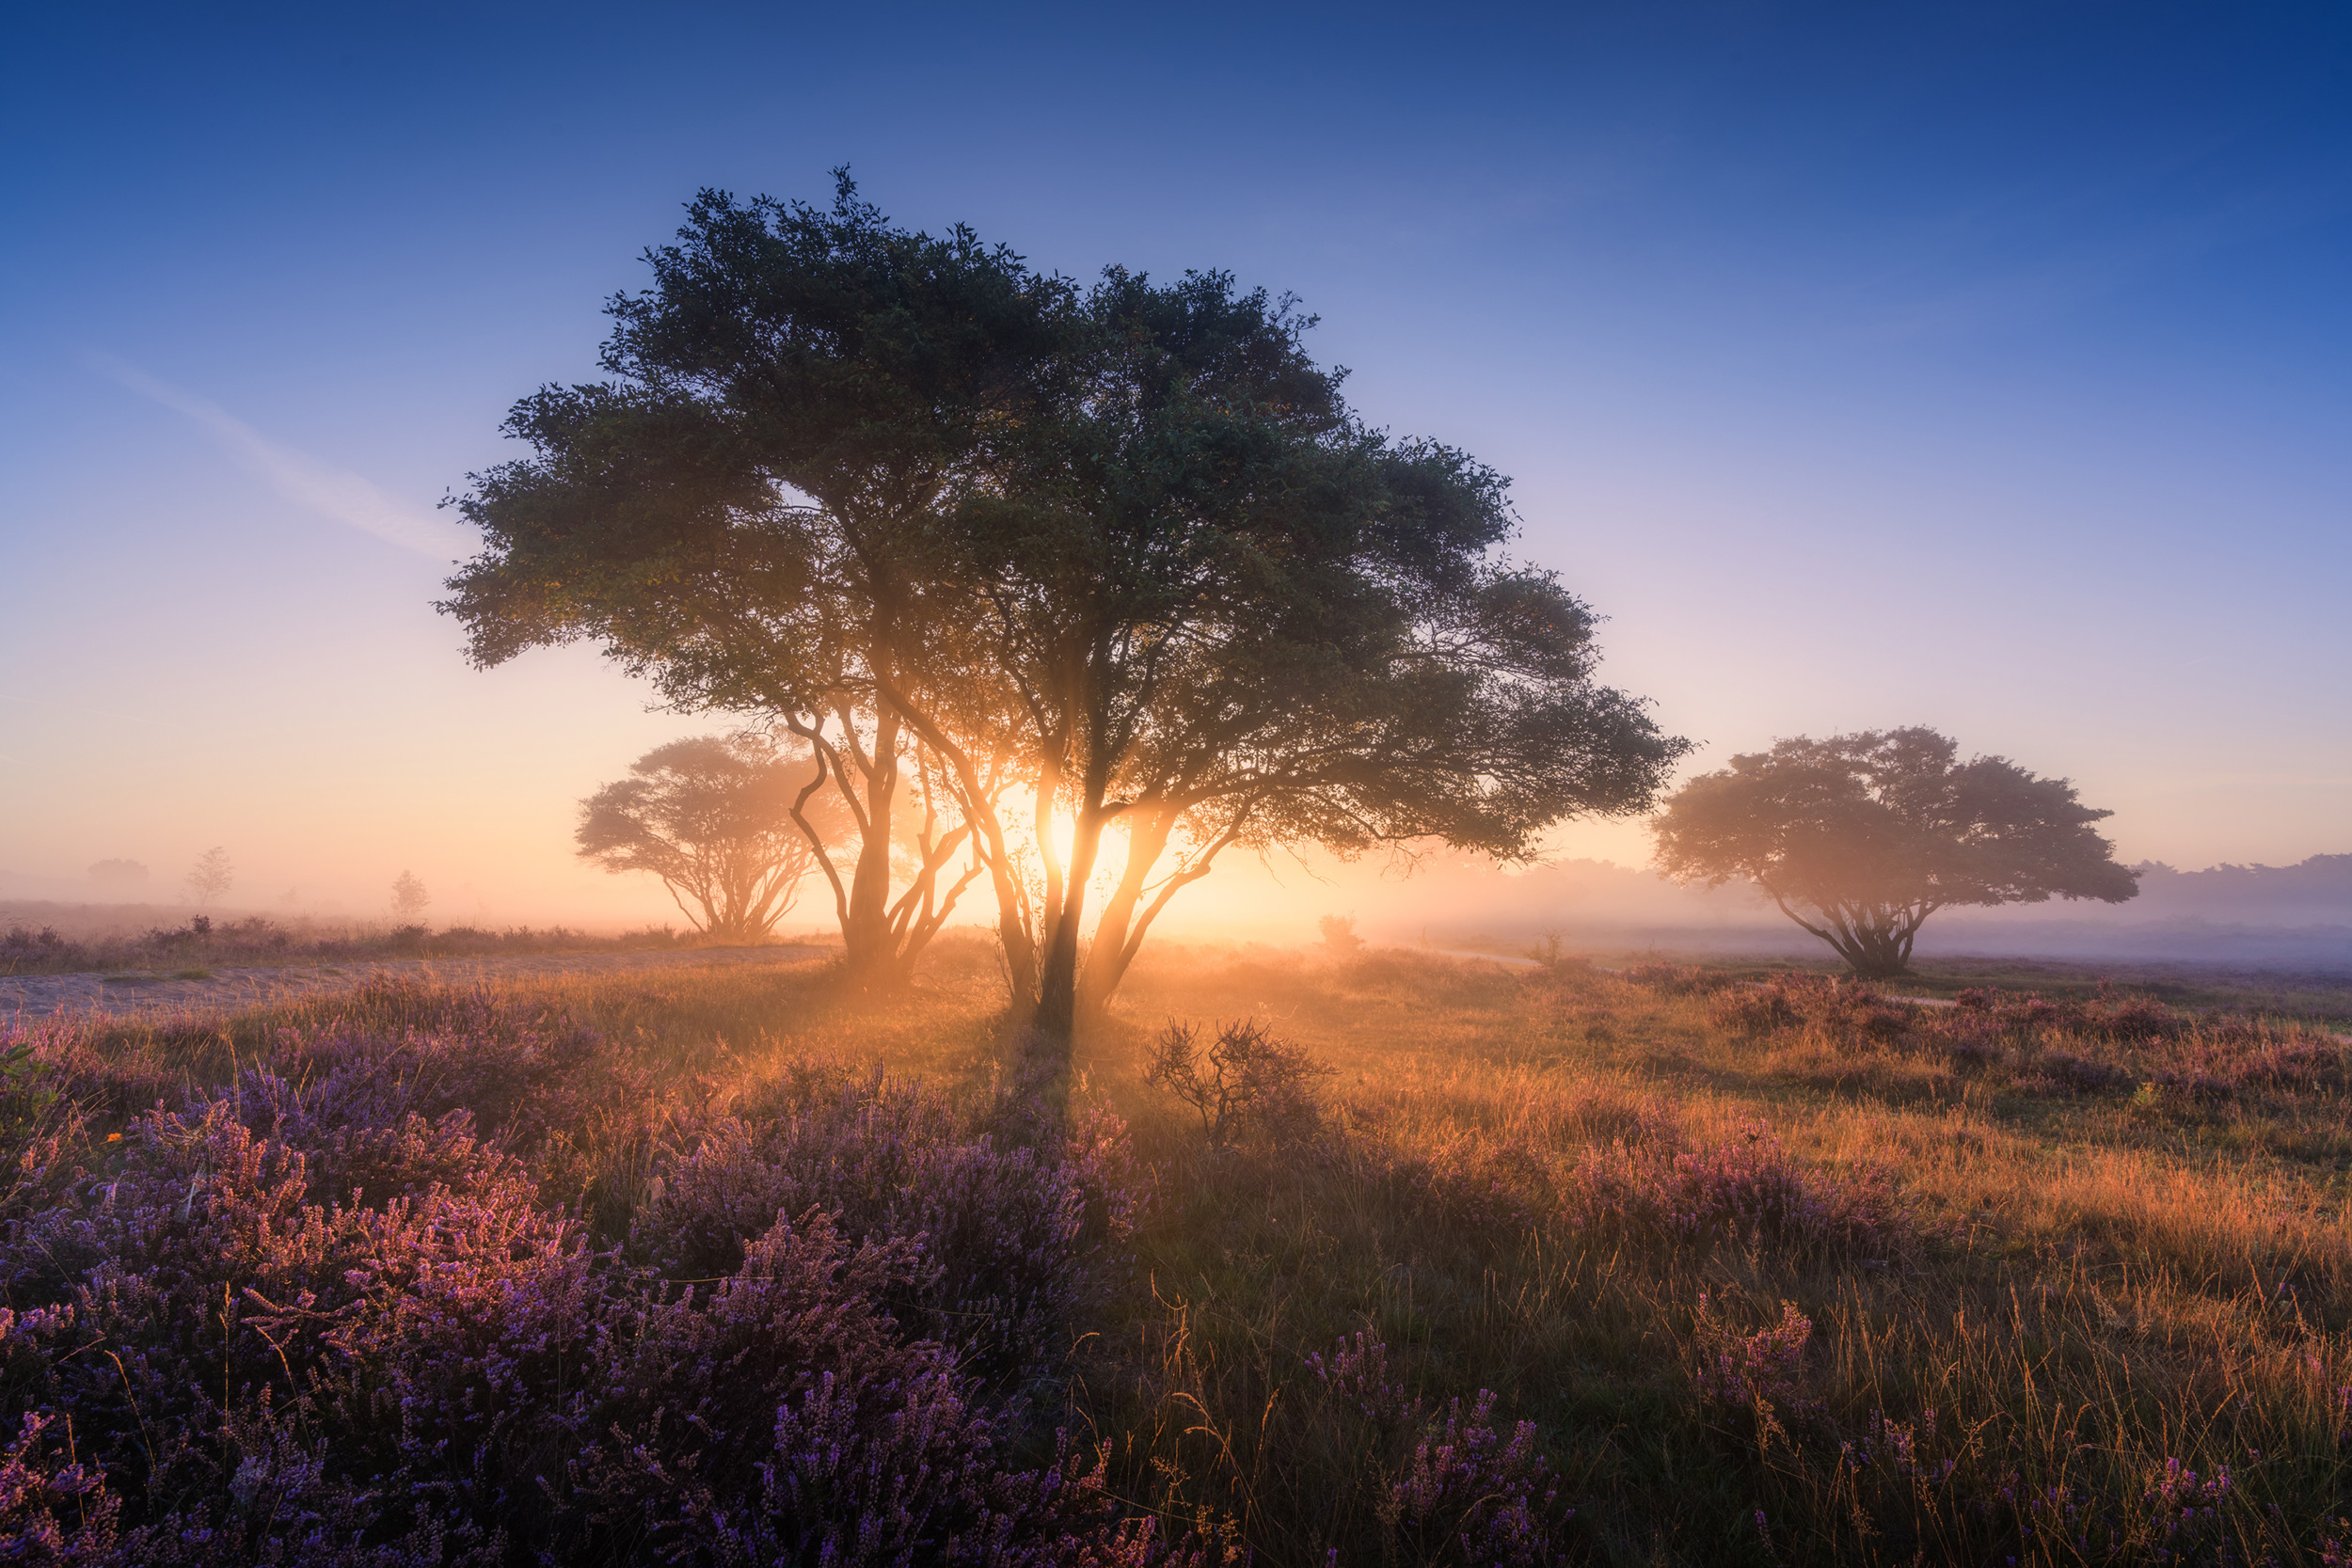 © Albert Dros | Sony α7R IV + FE 16-35mm f/2.8 GM | 1/250s @ f/14, ISO 100
Exposure Values
Use the live Histogram display to make sure that you aren’t blowing out too many highlights and that you still have detail in the shadow areas. Usually, there is more detail in the shadow areas that can be recovered but blown-out highlights are much tougher. This is where DRO+ mode, exposure bracketing, and HDR creation come into play. Capture as much detail with the in-camera exposure to give yourself the best raw file for editing.
With a tripod to keep your camera steady, you are free to use a slow shutter speed if needed. Use the lowest ISO setting, which is typically ISO 100. This will produce the best image quality and the highest dynamic range the camera can produce.
 © Gustav Kiburg | Sony α7R IV + 16-35mm f/2.8 ZA SSM II | 1/13s @ f/18, ISO 50
To get as much of the landscape in focus as possible, you will want to shoot at a small aperture, such as f/11 or f/16. Another benefit to shooting at these small apertures is that it creates a sun star, where the aperture blades transform the sun into the shape of a star in your image. This can help make it even more of a creative feature in your photos.
Finally, ensure that you are using the 'Setting Effect On' option in the Live View Display menu. This allows you to use the rear screen or viewfinder to preview exactly how your image will look. This not only works for exposure and colour settings, but also importantly for landscapes, it will preview the depth of field, so you can ensure all the vital parts of your landscape are in focus.
Summary
- Preparation: Get to your location early to give yourself time to set up.
- Research: Visit the location in daylight or use apps and websites to help envision your shot
- Lens Choice: Use a wide-angle lens to help capture spectacular landscapes
- DRO+: Use your Sony camera’s DRO+ function to reduce the contrast in high contrast scenes.
- Exposure Settings: A low ISO will maximise the detail and dynamic range in the image, whilst a small aperture will keep everything in your landscape sharp
- Live View Display: Make sure Setting Effect is set to ON to preview the image, including the depth of field


